Ramblings

  • Project HouseBus: Are We There Yet?

    Project HouseBus: Are We There Yet?

    In life, it seems we sometimes start something with absolutely no idea of the sheer scale of the endeavour. This bus conversion definitely falls into that category.

    In our last post back in December 2025, we thought we would be close to wrapping things up by January 2026. Well, it is now October 2026, and we are still not quite there yet.

    Progress has been made, though—honestly! Here is the rundown of what has been checked off the list.

    Battery Box

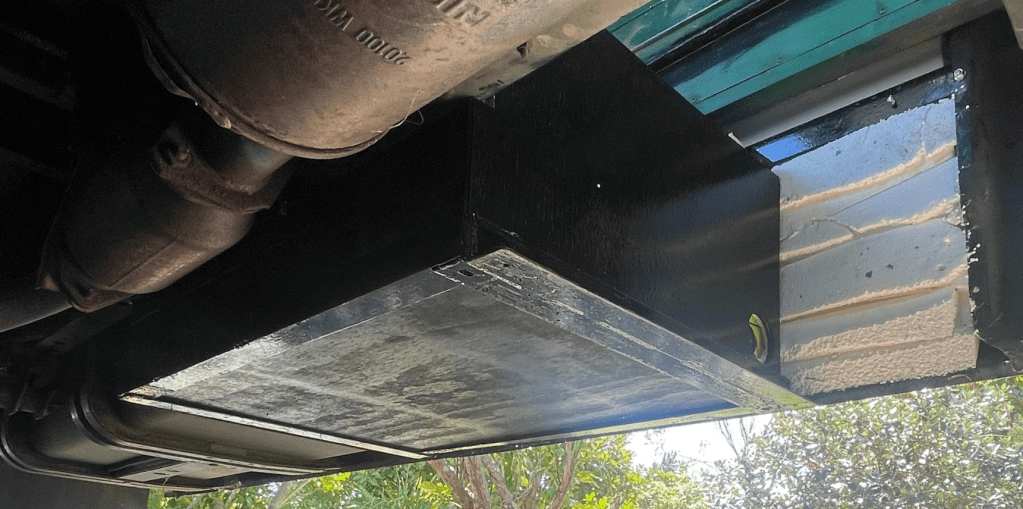
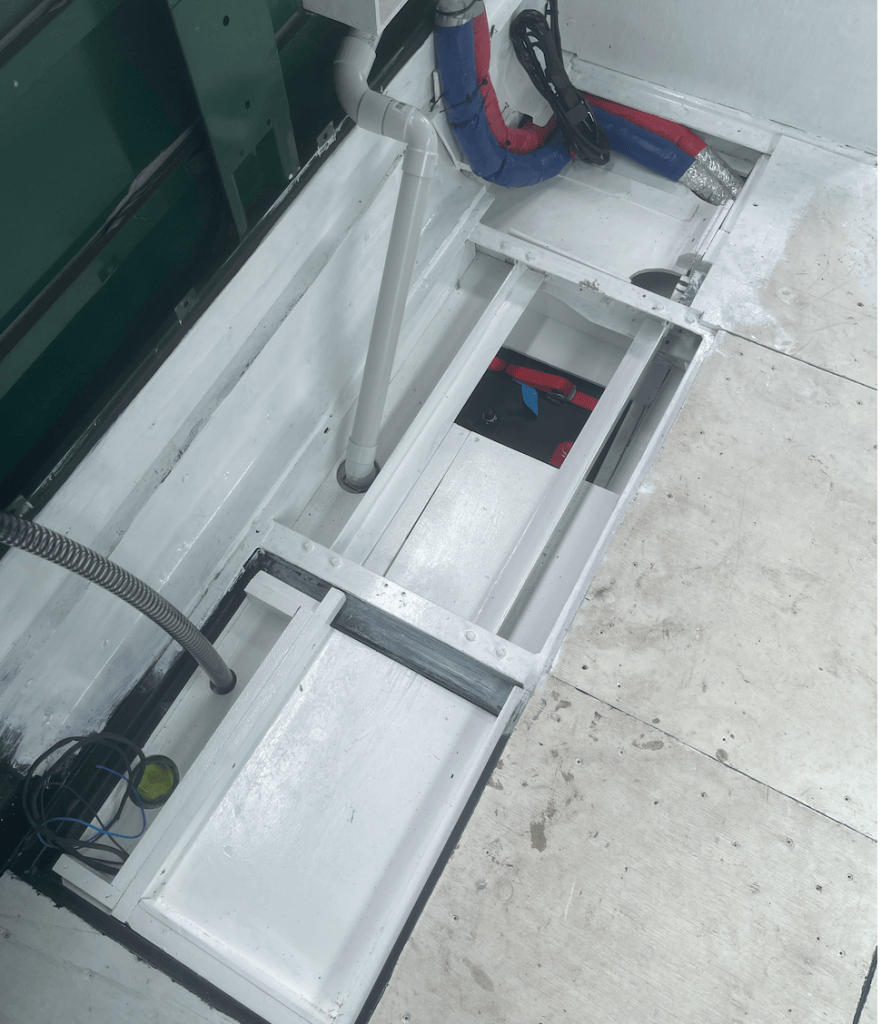
    We fabricated and mounted the battery box for the lower battery. I initially had this grand idea that we might fit both batteries under the floor, but reality set in quickly—space was just too tight. We ended up with one battery mounted under the floor (designed so it drops out cleanly from underneath if needed) and the second battery positioned at floor level inside.
    Skylights & MaxxFan

    We installed three skylights and one MaxxFan. Getting standard RV fittings onto a bus roof is always a bit of a headache; they are engineered for dead-flat RV roofs, whereas a bus has compound curves, crowns, and structural ribs to navigate. To solve the sealing issue, I ended up building custom timber plinths to create solid, flat mounting faces for each opening.
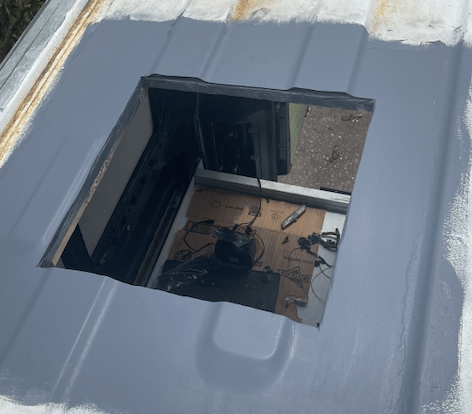
    I must take some photos of the now finished roof …

    Windows & RV Entry Door

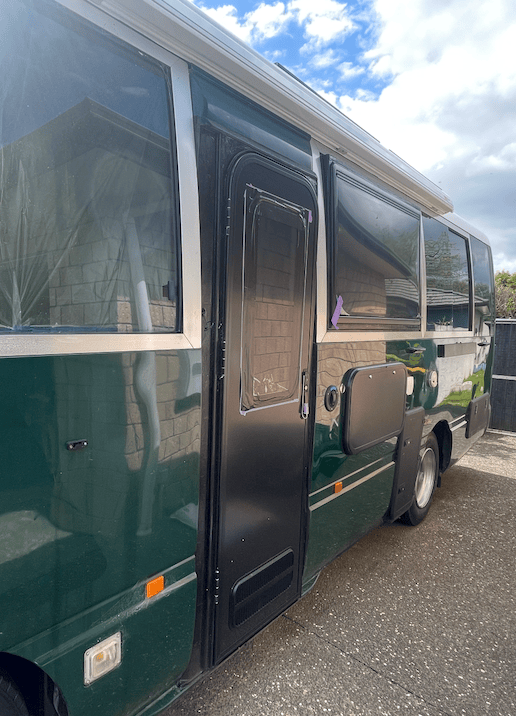
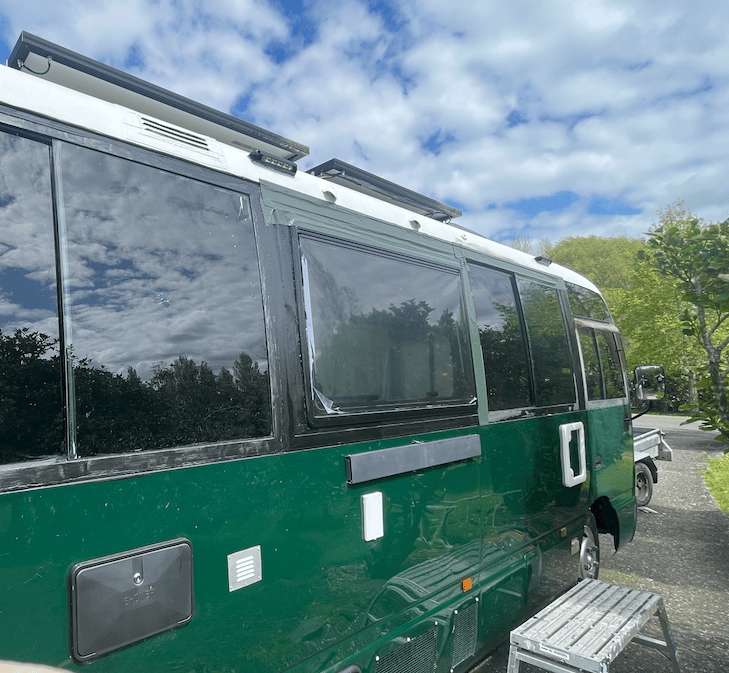
    Next up was installing two Seitz double-glazed campervan windows, complete with integrated blinds and flyscreens. We initially considered retrofitting blinds to the original bus glass, but double glazing made far more sense for thermal performance and sound deadening. Getting them framed square, seated, and genuinely watertight took a fair bit of wrestling, but they are in.
    We also cut out the original folding bus door and replaced it with a dedicated RV security door. Having an integrated flyscreen means we can keep the main door wide open for cross-ventilation on warm days without inviting every bug in the area inside.
    Framing for Spray Foam

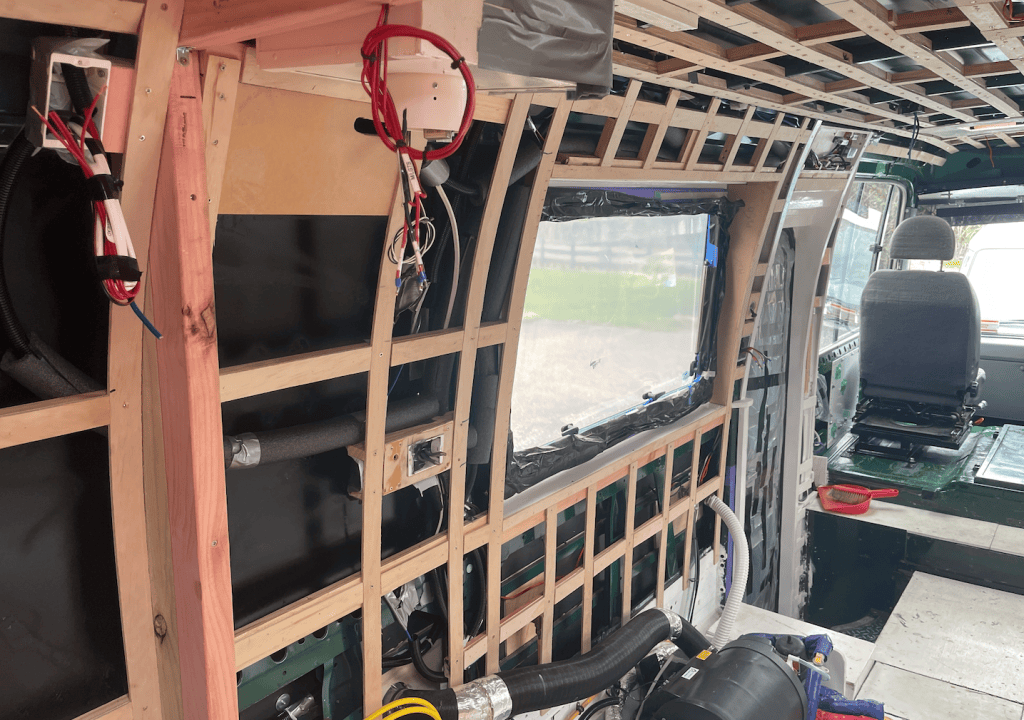
    For insulation, we committed to closed-cell spray foam. That meant completing all internal wall, ceiling, and partition framing beforehand so the foam could expand directly behind the framing against the steel skin.

    Insulation methods in the camper community are always heavily debated, but closed-cell provides an unbeatable vapor barrier and rigidity. The framing stage turned into an epic undertaking—possibly slightly over-engineered, but the goal is a bus that stays warm and dry in winter, cool in summer, and solid for years to come.

    Next post will show the finished outcome of the spray out.
    Electrical & Solar Panels

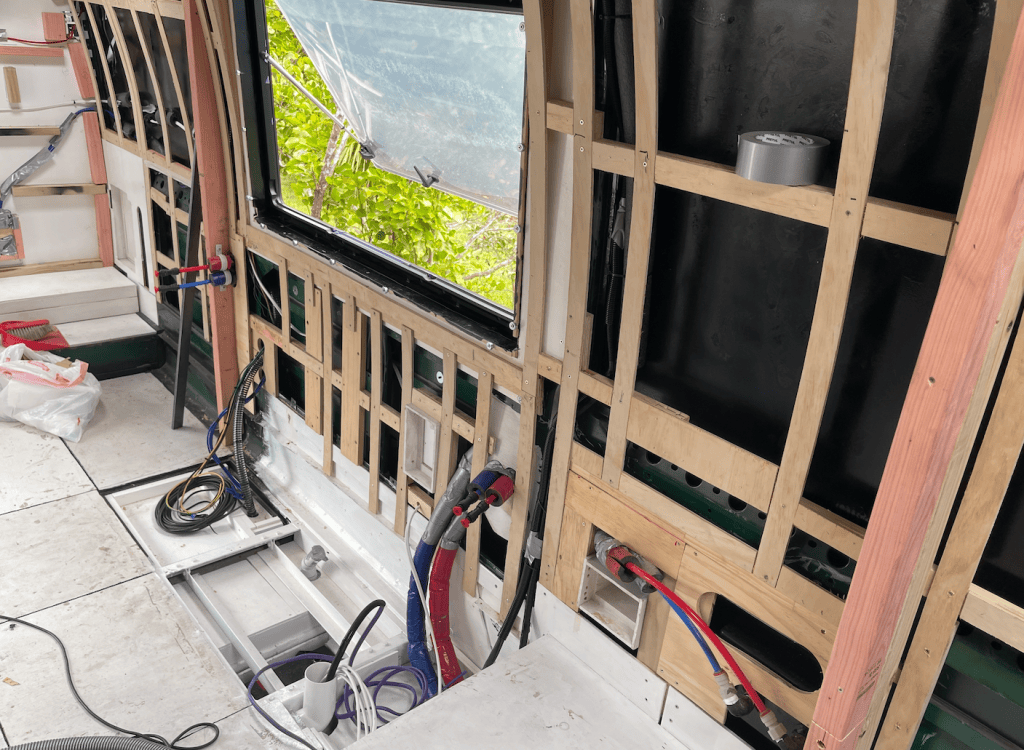
    First-fix wiring is finally complete. The critical catch with spray foam is that once it goes in, running another wire through the wall cavities becomes a massive chore. Every primary circuit, DC drop, sensor lead, and AC run had to be completely mapped and routed beforehand.

    Mounting the solar panels presented the same curved-roof challenge as the skylights. I fabricated custom mounting brackets bolted securely through the roof structure, which the panel brackets then mount to. This keeps the panels level and allows individual panels to be unbolted and serviced later if needed.

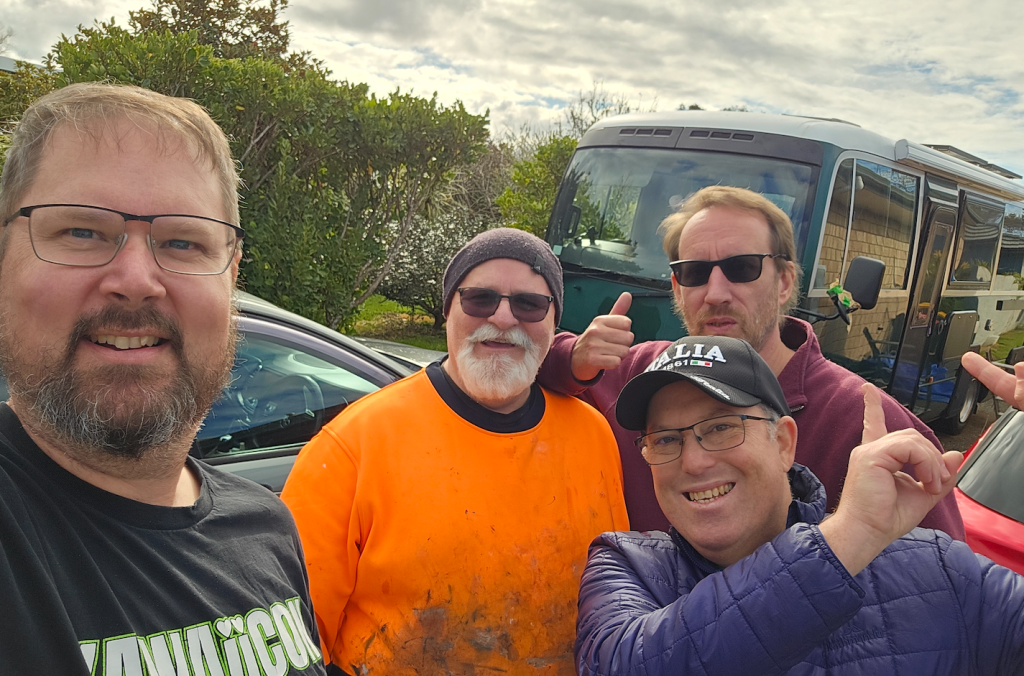
    The boys came over to help hoist the heavy panels up onto the roof, and we made the most of the extra hands by getting the awning mounted at the same time.
    New Tyres

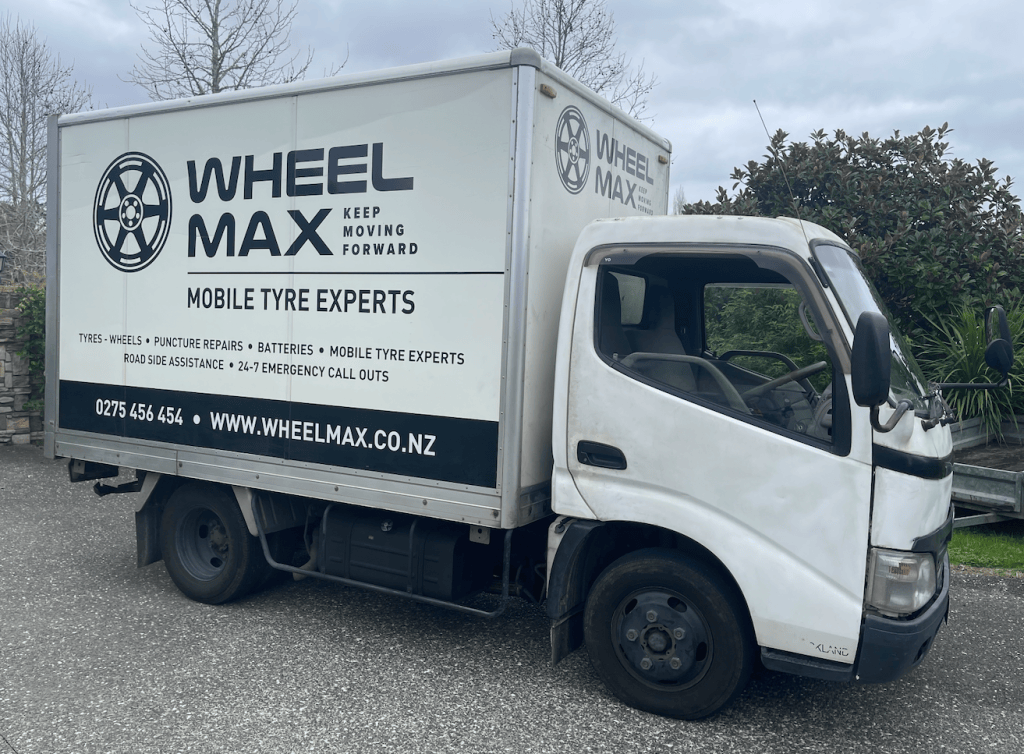
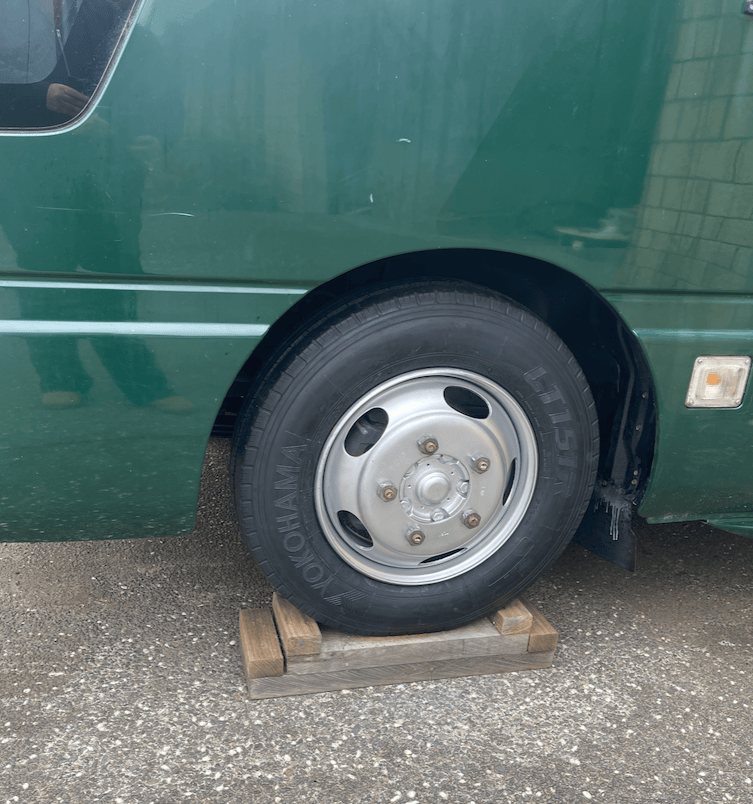
    We had six new Yokohama tyres fitted by the team at Wheel Max— outstanding service. The old tyres still had legal tread depth, but they were well past their expiration date and starting to show sidewall cracking. Safety first.
    Swivel Seat

    The floor reinforcement plates for the passenger seat mount and certified seatbelt anchors are in place. Just a few final structural details to tie off before the certification sign-off, but like everything else on this build, getting it right has been a real mission.
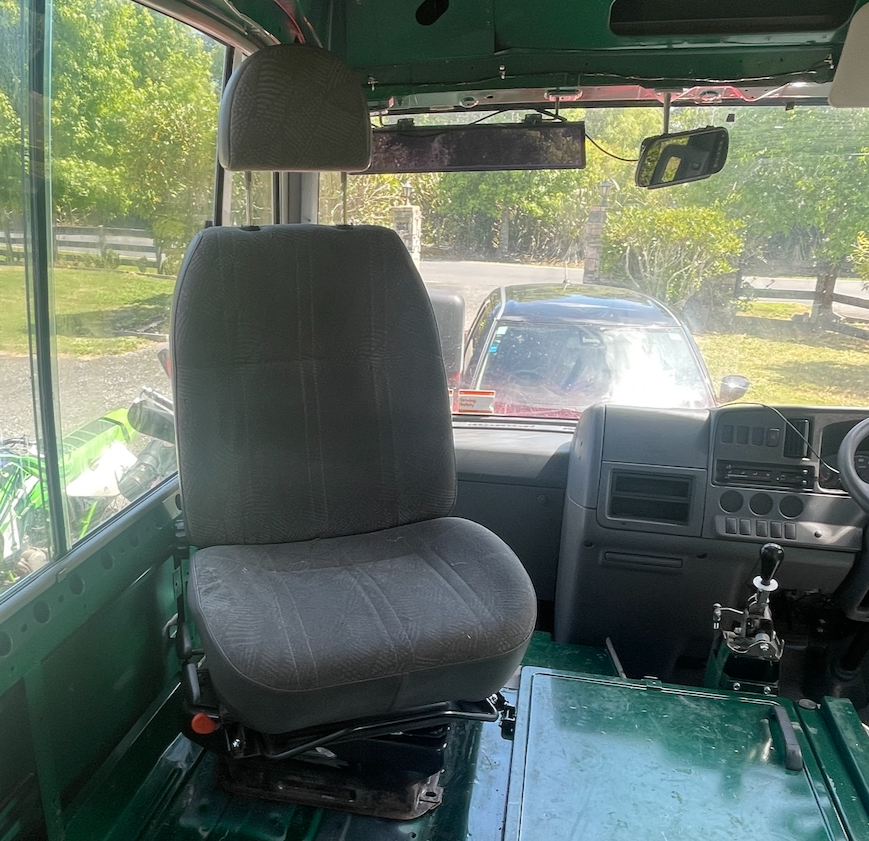
    The idea .. seat on the left .. the mounting plate for belts on the right .. final images will be in a few posts time – but its coming along …
  • Project HouseBus : It’s been a while…
    Our last update was back in September, and now it’s already December! The time has flown by, but rest assured, we’ve been very busy behind the scenes getting more of the HouseBus closer to completion.

    First Fix Plumbing: Complete!

    We’re thrilled to report that we have completed the first fix plumbing. This was a major milestone!

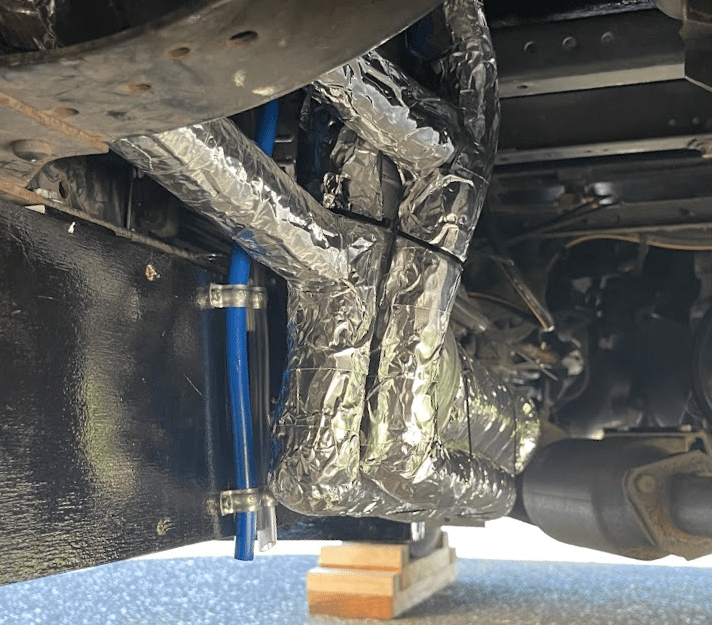
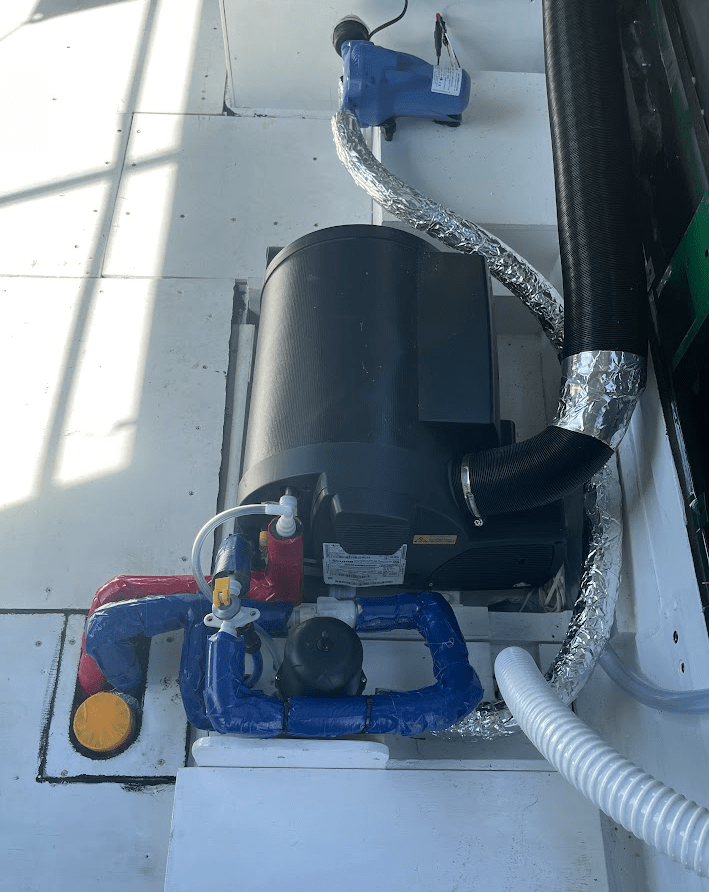
    All the pipe work has been thoroughly insulated. We used a double-layer taping system: the red and blue tapes are a tough, high-quality duct tape, and the silver is an extra reflective metal insulating tape for maximum efficiency. The best news? The system holds pressure! No leaks so far.

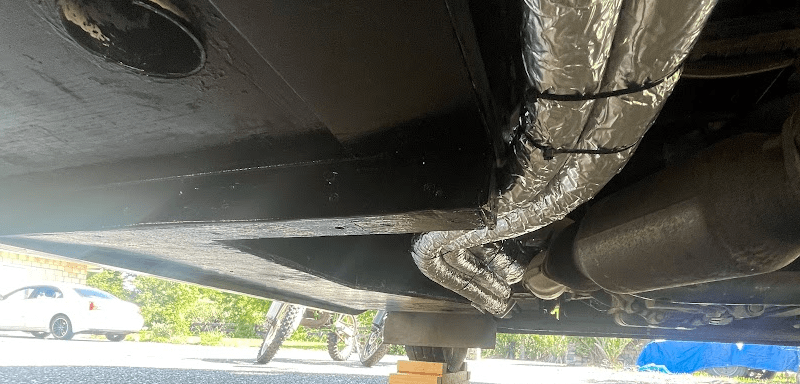
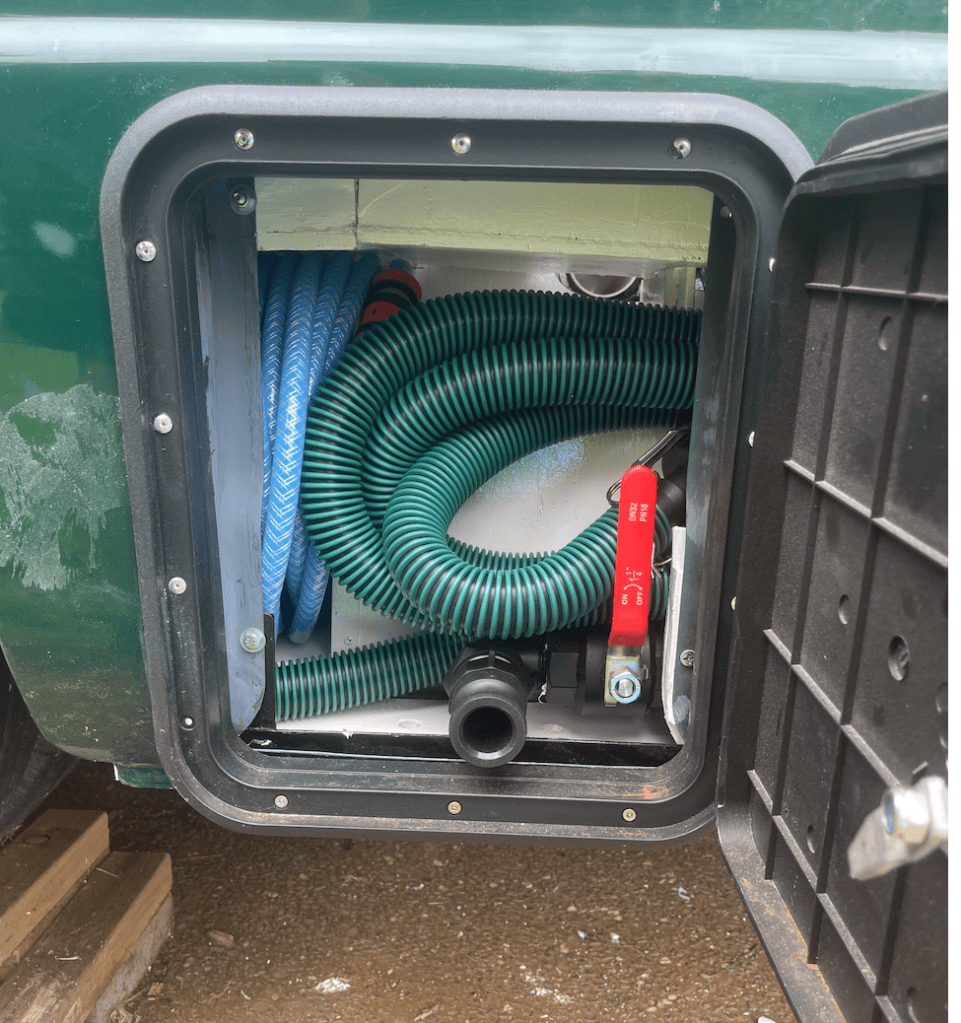
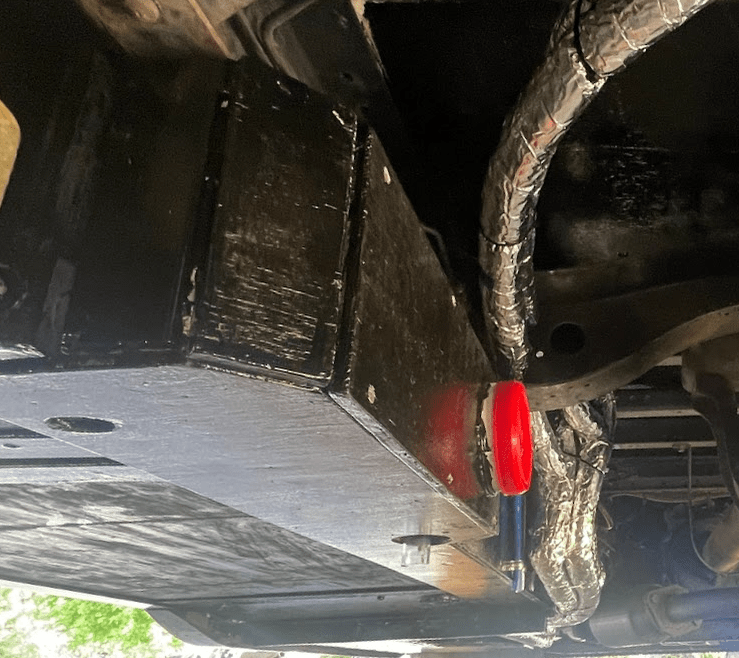
    The grey water tank has been successfully located and installed underneath the bus. The only remaining space under the chassis is now reserved for the custom battery storage area.

    Gas and Seating Progress

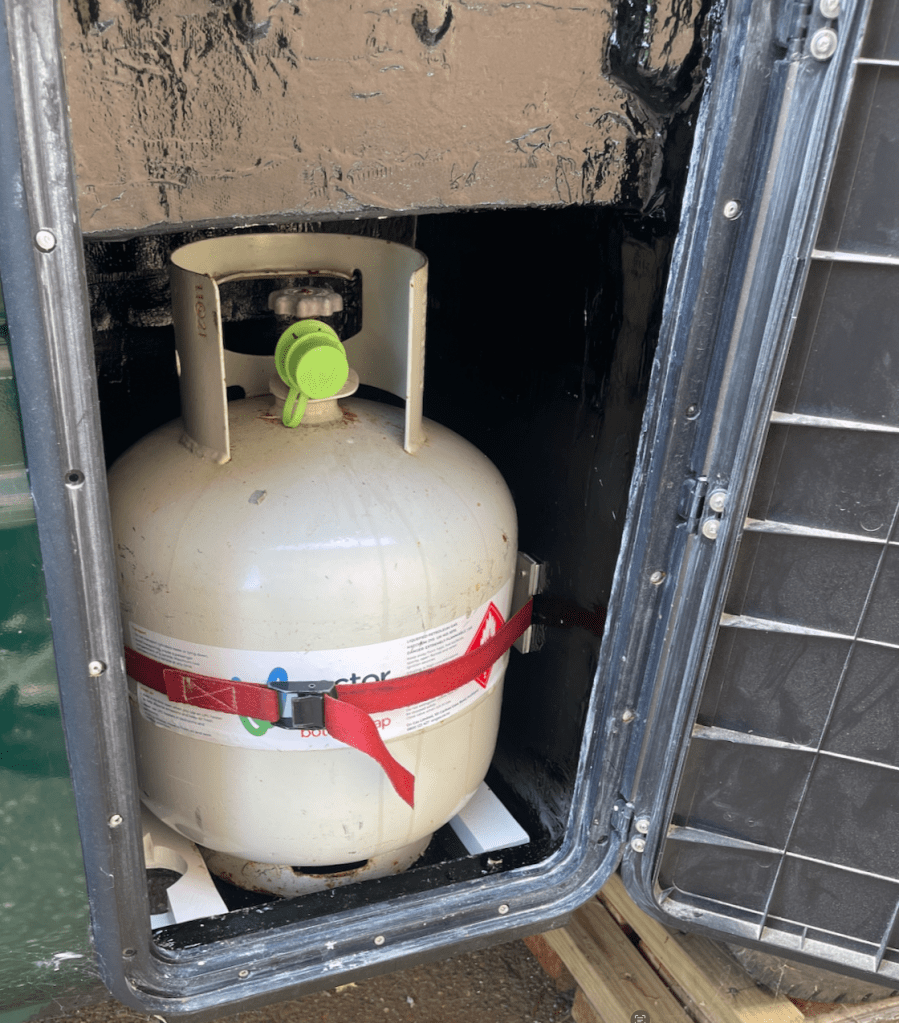
    The gas cupboard is all finished and ready to go, though not yet connected. We’re crossing our fingers that the gas fitter will be able to come next week to connect everything up!

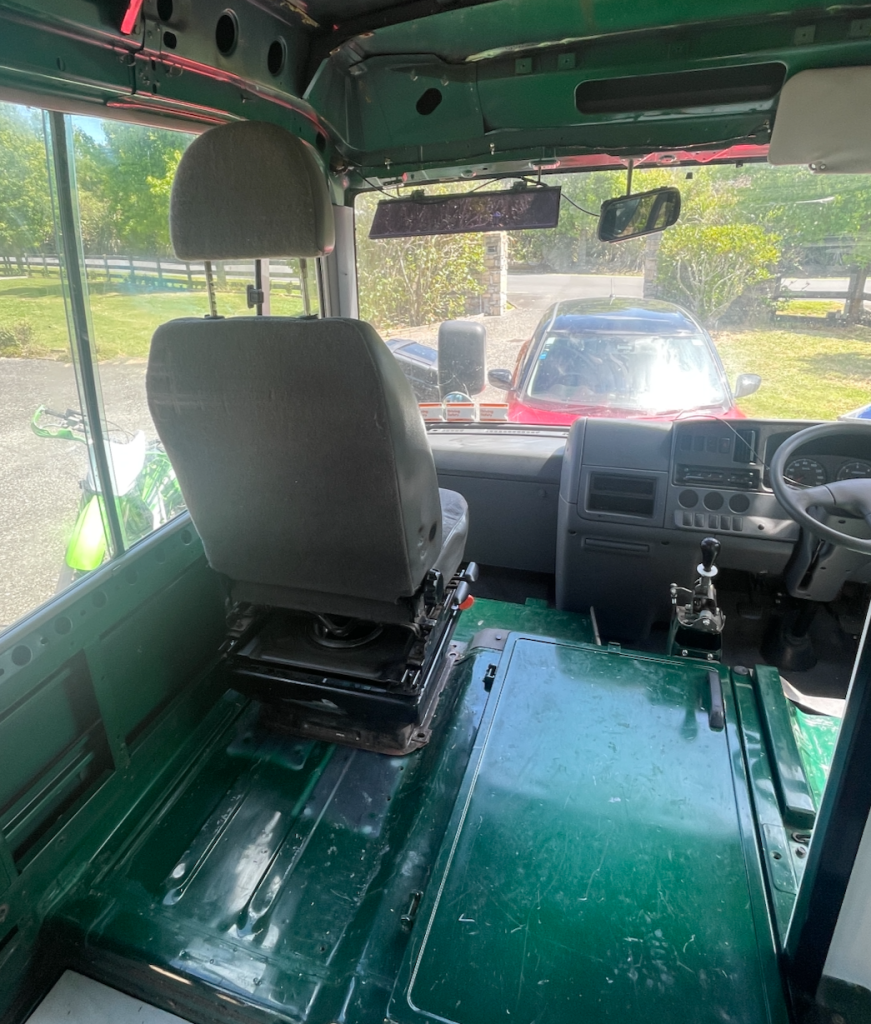
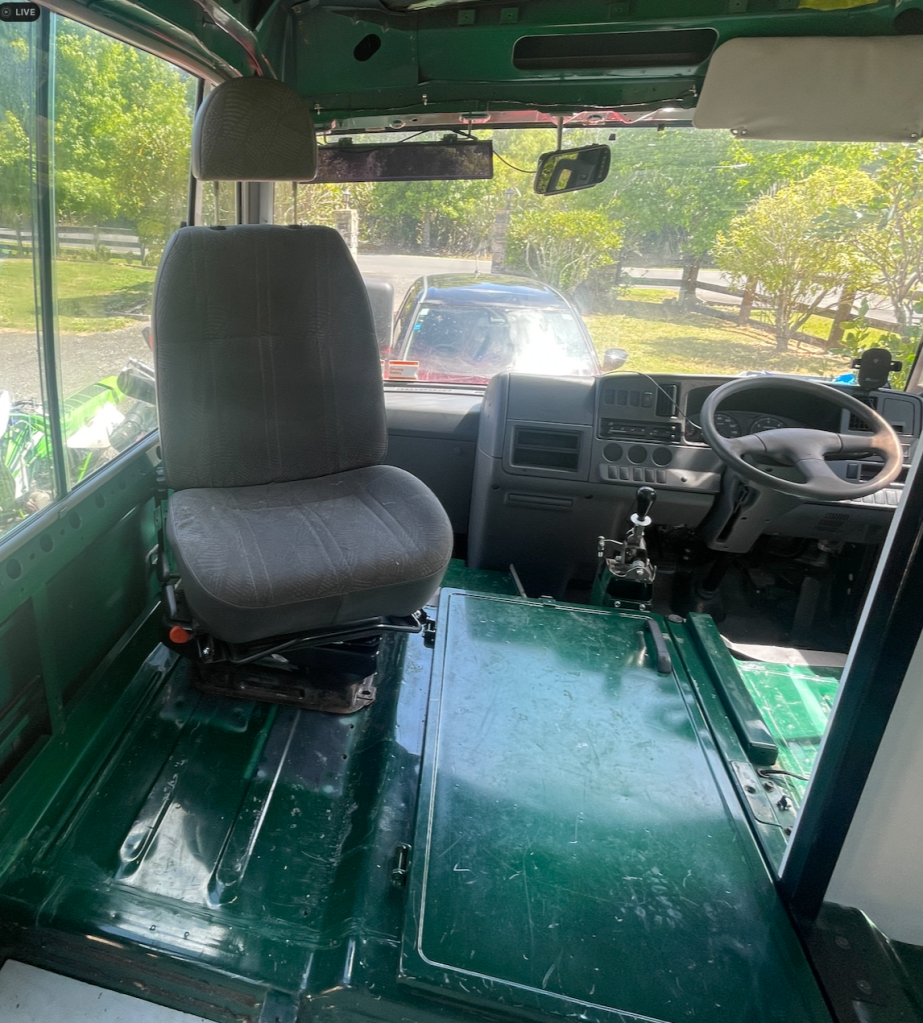
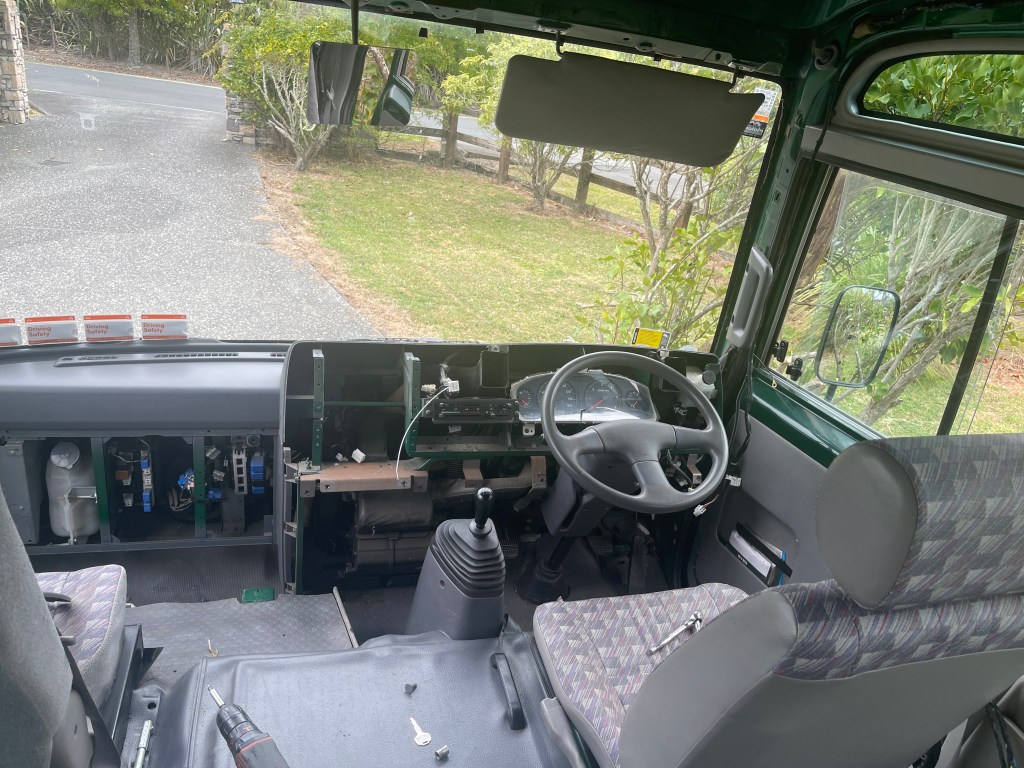
    In the cockpit area, we have removed the two original passenger seats and replaced them with a single Ford Transit seat. The biggest piece of this puzzle was the swivel unit! I had to import the perfect one from England—the freight actually cost twice the price of the unit itself, but I just couldn’t find the right one any closer.

    Now comes the expensive, but necessary, part: certification. Next on the list is hiring an engineer to design the custom seat and belt mounts. Once that’s done, a certified welder can build and install everything securely. This is a crucial step, but it will be worth it as this single seat, when swiveled, will become part of our much-needed office space! The seat will be getting a fresh cover, but here is a sneak peek of its placement, will be about 4″ more to the right, hopefully:

    External Creature Comforts

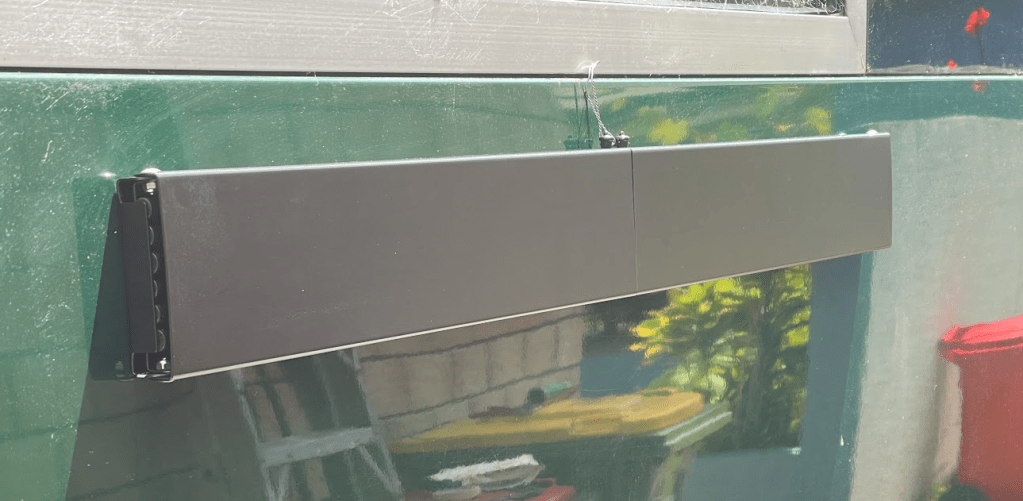
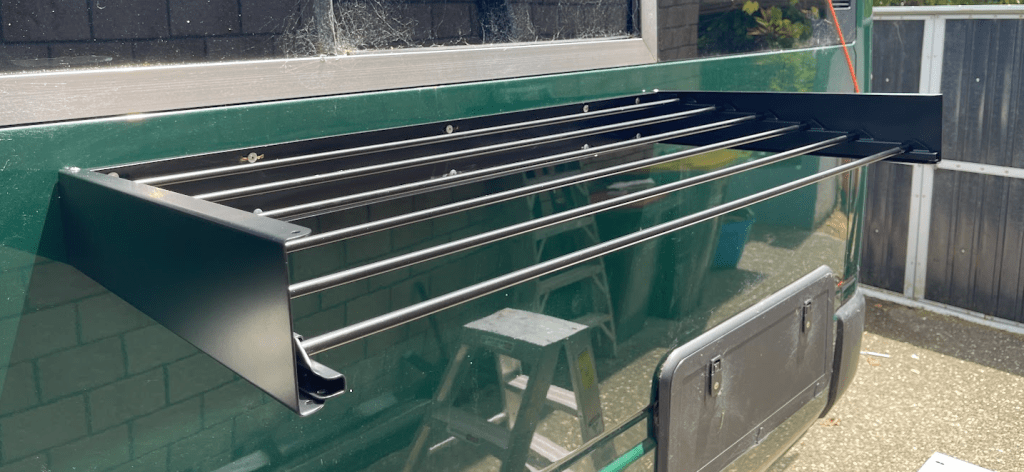
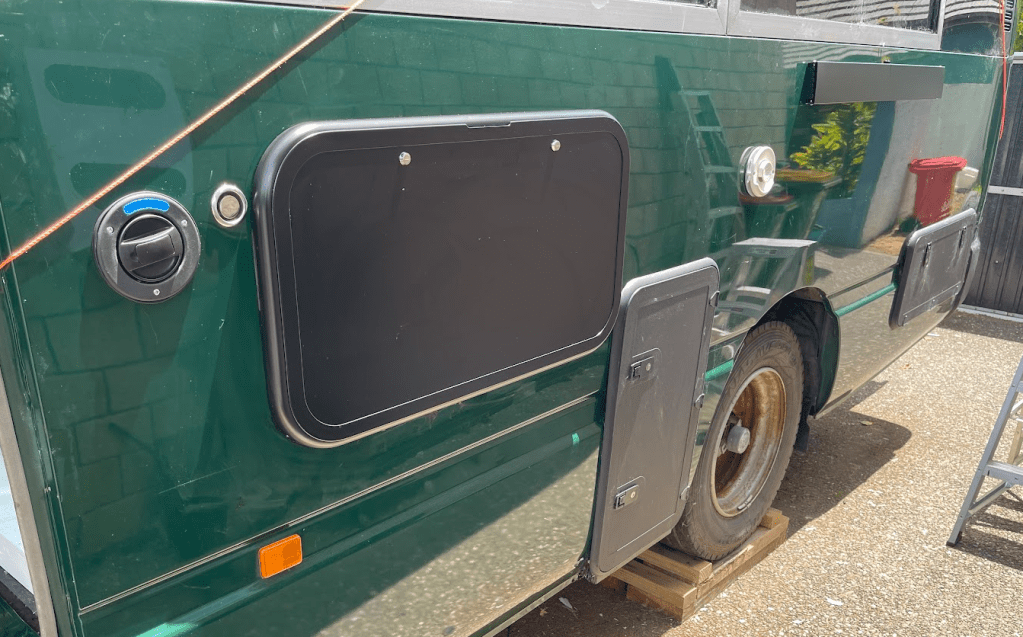
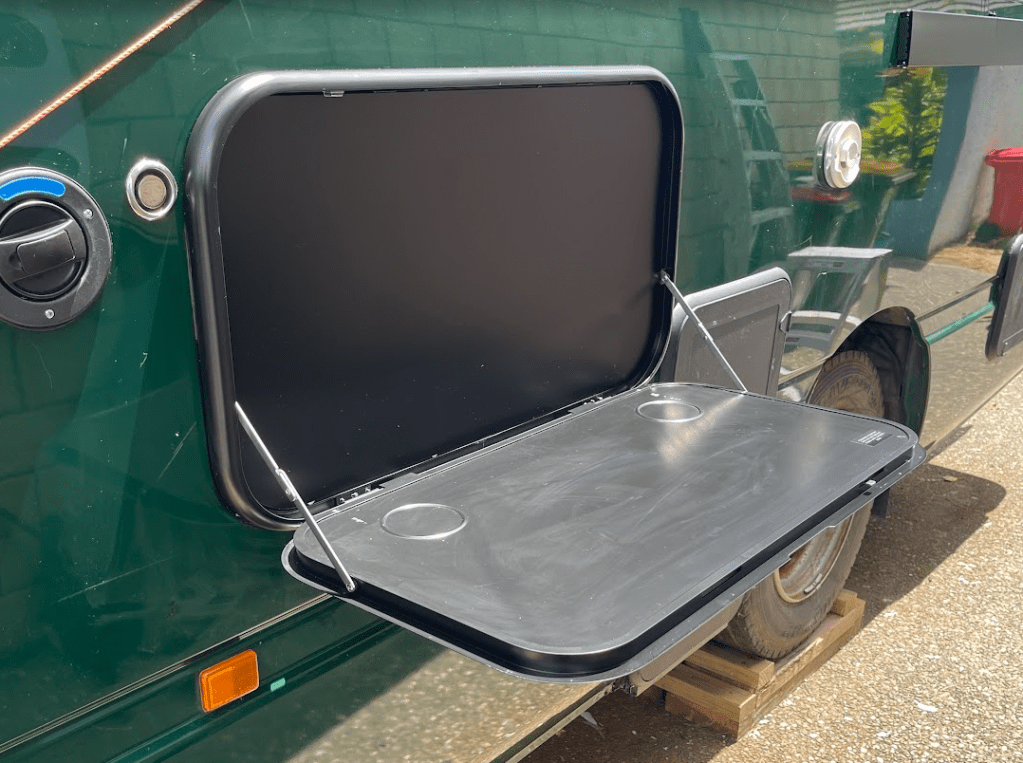
    We’ve added a few other bits and pieces to the exterior to make life on the road a little easier. This includes a couple of handy fold-out washing lines, one open each side of the bus and a fold-down table. Michelle insists it’s a shelf, not a table, but either way, I’m sure it will be a very handy addition and get a lot of use!

    Christmas Push

    I’m taking some time off over the Christmas period, which means it will be time for a big push on the HouseBus build! If I can get the entire interior insulated and lined before the New Year, I will be absolutely ecstatic.

    Let’s see how it all pans out… Wish us luck!

  • Project HouseBus : Going up in the world…

    Again, it’s been over a month since my last post, and this one is going to be short…

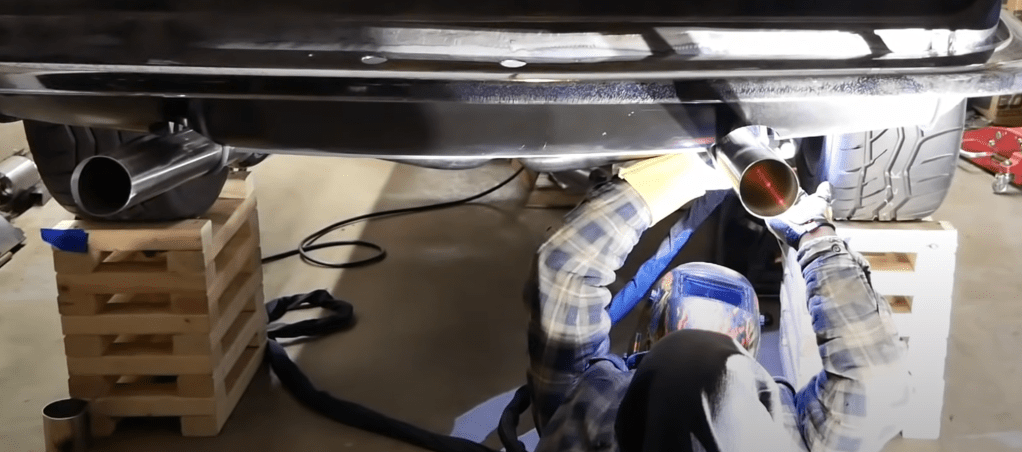
    I have more work to do under the Bus, and it’s really not very high off the ground. I can just about squeeze under there, which makes working very hard. When I installed the fresh water tank, I jacked up that side and put a block in one rear tyre.

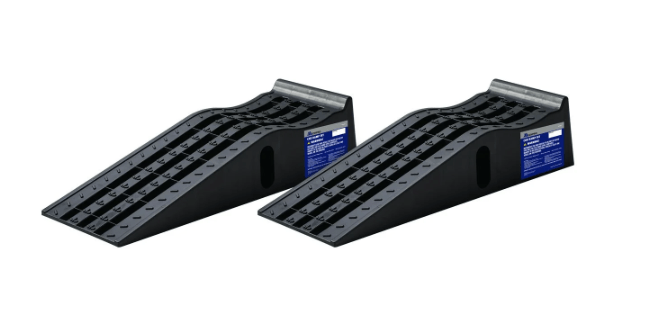
    I had been trying to think of a way to lift the bus up, something like the car ramps you may drive your car up onto for working on a car.

    Of course, they would have to be huge for the Bus, and I couldn’t find anything. Then I was watching one of the YouTube channels I like @FanatikBuilds and I noticed he has his GT6 up on 2″ x 4″ blocks.

    Anyway, not viable to do this with the bus, and I don’t want to get it this high. The jack I have can only get the bus wheels about 2″ off the ground, and ideally, I don’t want to be killed by the bus.

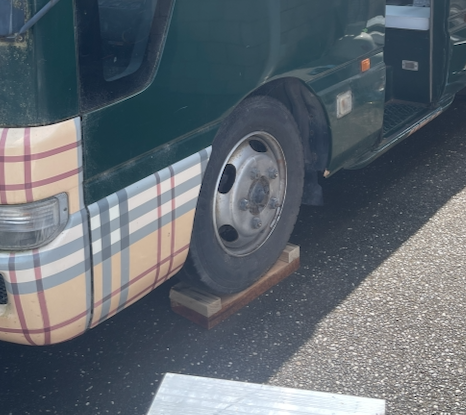
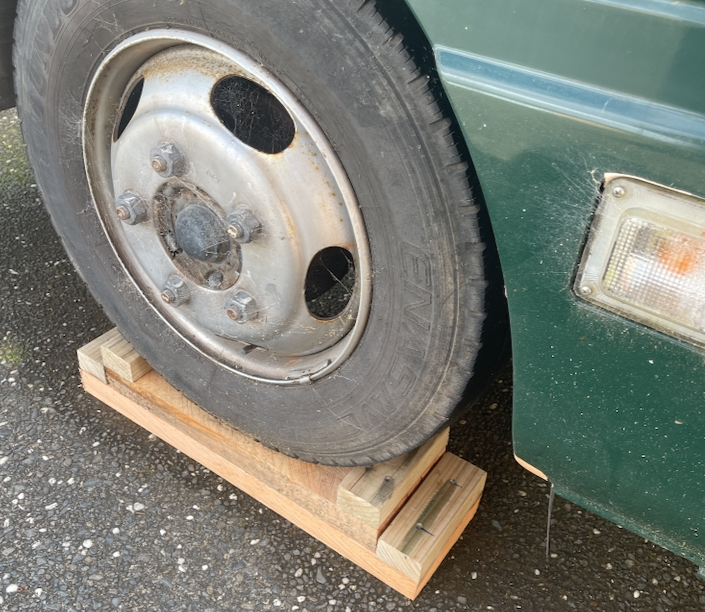
    So I went to Mitre 10 and bought four Macrocarpa sleepers. They were 200mm x 50mm and 2.1m long. Using them flat like this:

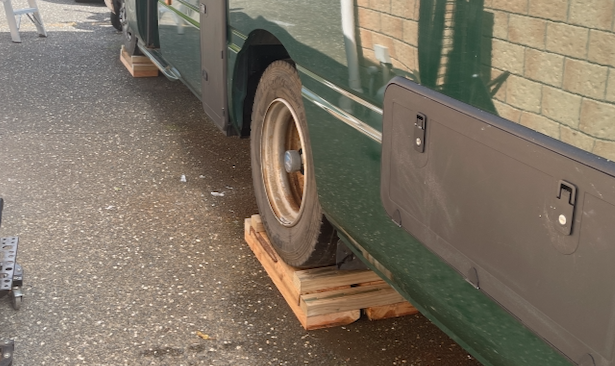
    I put one layer under the front and the rear, then went around a second time with a block under the jack and raised it all to the height of two blocks, so 100mm up.

    So, not a huge height, but it’s on solid wood and I feel quite safe to leave it sitting on them for an extended period of time, and it makes it much easier to slide under the bus!

  • Project HouseBus : Junk in the Trunk… and a Lot More!

    Okay, it’s been a while—April was my last post, eek! So, what have we been doing for the last four months?

    Well, we’ve been tackling what we think will be one of our biggest challenges in “bus life”—storage. We’re trying to leverage every spare millimeter of space we can find.

    For those of you who just want to cut to the chase, here’s what we’ve created:

    First, a quick video of the finished cupboard on the passenger side:

    And here’s the drivers side cupboard:

    We also added some storage in the rear, under the back of the bed. This is a place to store our motorcycle helmets, gloves, and other gear, with tools stored below that.

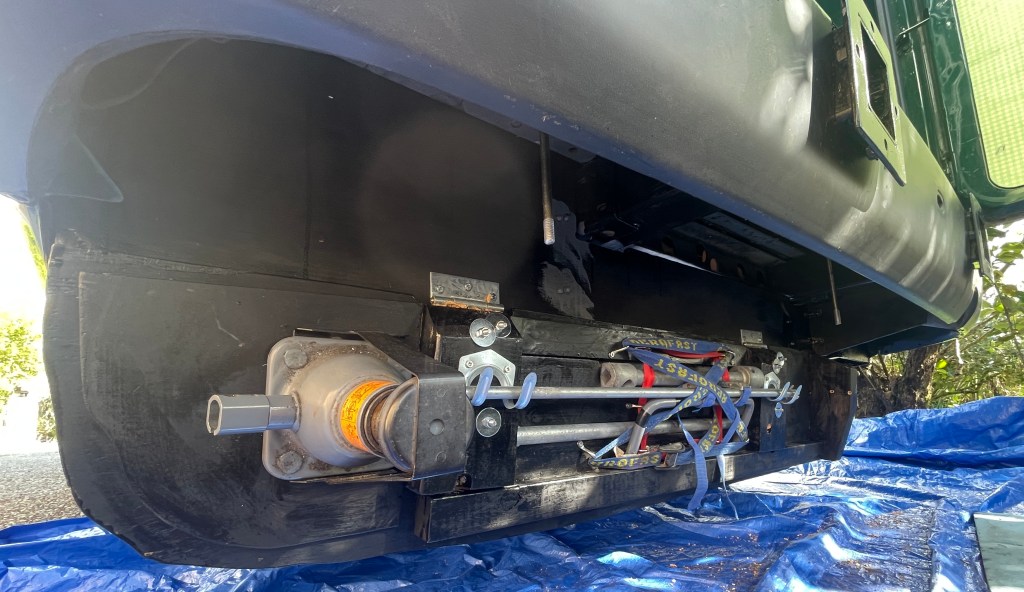
    Last but not least, we created a storage area for our tire-changing tools under the rear bumper. While we don’t have a video of it in action, here are a couple of photos of the wheel tools storage:

    The storage open:

    And closed:

    So, not much progress, right? Maybe just a weekend’s work? Well, this is what we started with—a big load of nothing but space.

    We think we’ve done a pretty good job. There’s also space for a drawer that can be accessed from inside the bus, measuring about 1m long by 700mm wide and 300mm deep.

    We’ve taken many more photos. If you’ve got nothing else to do, the whole album is here on Google Photos:

    https://photos.app.goo.gl/zonE19cM8Fvebn7SA

  • Project HouseBus : Let There Be [Less] Light

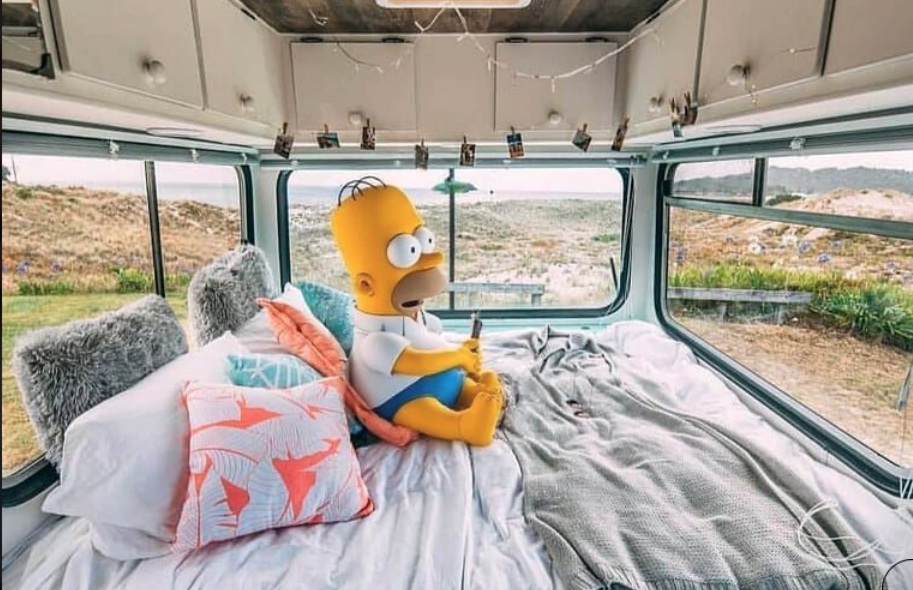
    One of the things that people are drawn to in a bus is the amount of light due to all that glass. Yes, it looks great; I am sure you have seen the images on instagram

    I might have used AI to tweak this stolen one.. just a little bit

    Anyway, all that glass may look great and be awesome for instagram, But in the real world, it’s not without its downsides.

    This large amount of glass means the walls have very few places to put anything. You’re going to need a bathroom, a kitchen with splash backs, etc.

    However, the biggest issue with all that glass is thermal control. The sun streams in, roasting you in the summer, and the heat pours out, freezing you in the winter. We are building an all-seasons space here, so it needs to be comfortable to live in.

    Of course, if it were all double-glazed or had some sort of special thermal control glass, it would all be fine, but we don’t have the budget for that, so most of the windows have to go.

    I did some research on the “deleting” of windows, and some people go to the lengths of removing them. However, it seems to me that’s a lot of work, makes the bus look strange and ugly, and does not really bring anything special to the party.

    So what we decided to do is:

    • Clean the windows inside and out to within an inch of their lives.
    • Glue them shut and seal them against any leaks using Sikaflex 552 AT.
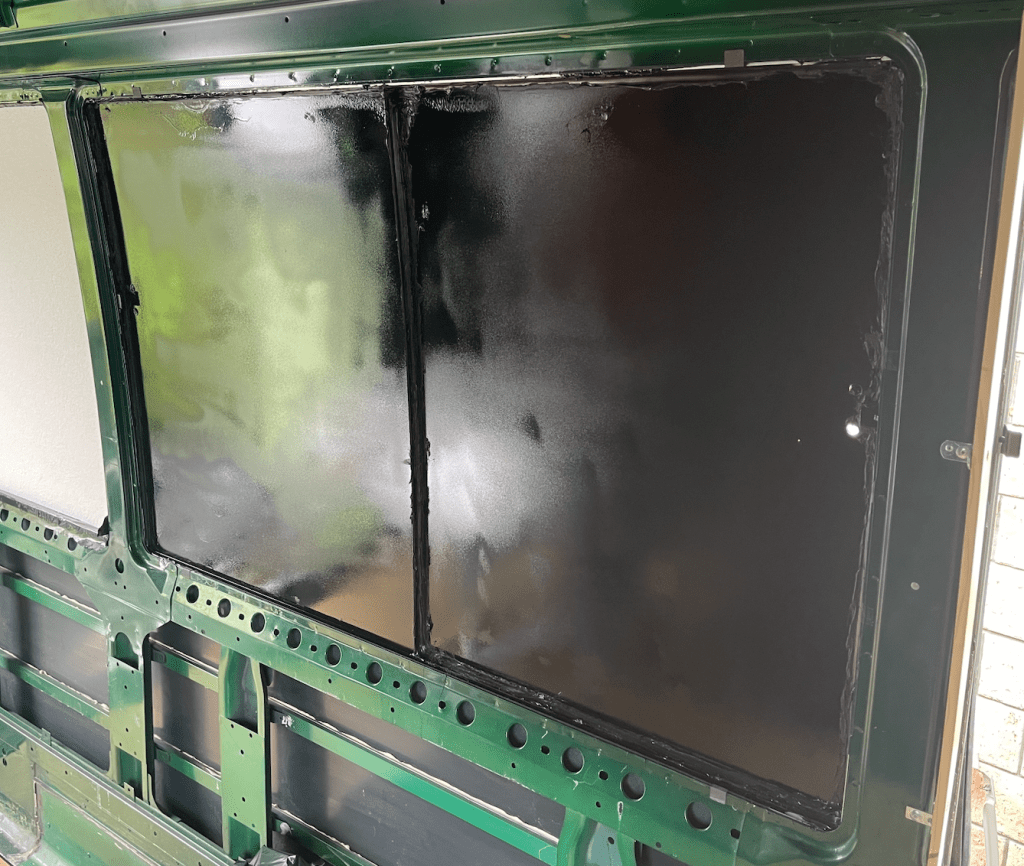
    • Spray the inside of them with gloss black paint.

    Okay, hold the phone—do what? Yeah, we decided to cover the inside with gloss enamel paint. Now, anyone who knows me knows I can’t spray paint very well, and the inside is not too pretty. 

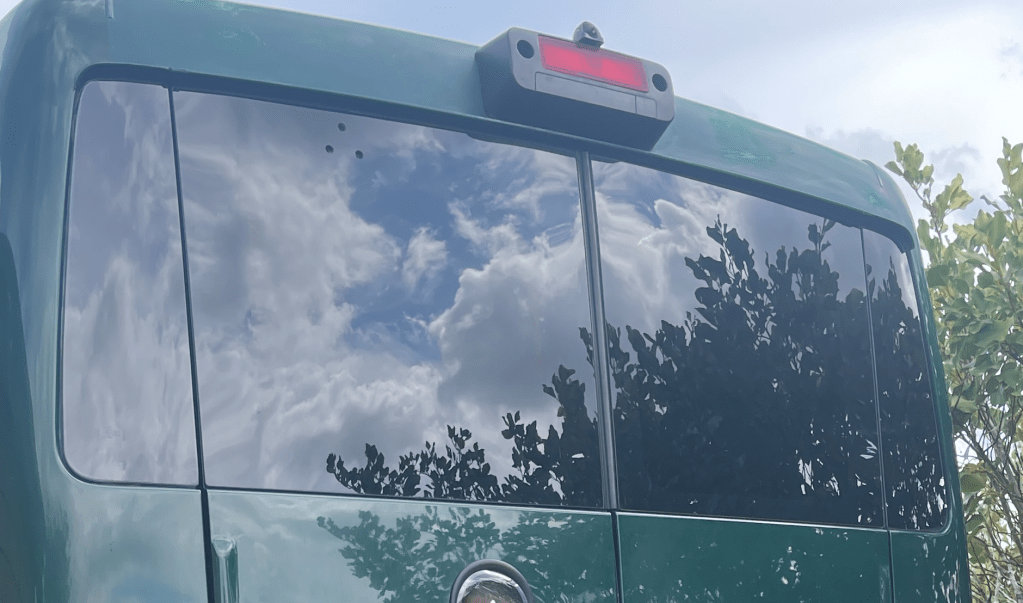
    But the outside just looks like the darkest window tint you have ever seen.

    Okay, so back to the steps:

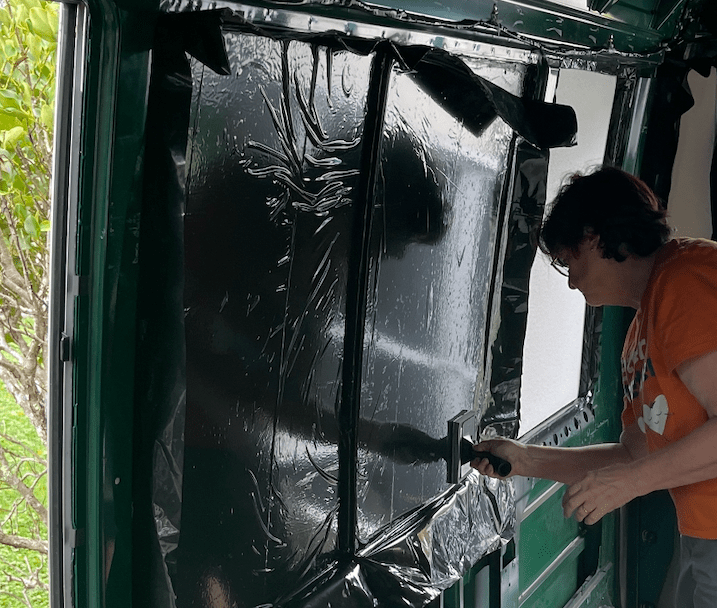
    • Glue thick black plastic over the inside. The thought here is that it will help protect the paint, as of course any scratch on the inside will show on the outside. We have glued this over the windows and right out to the frame.
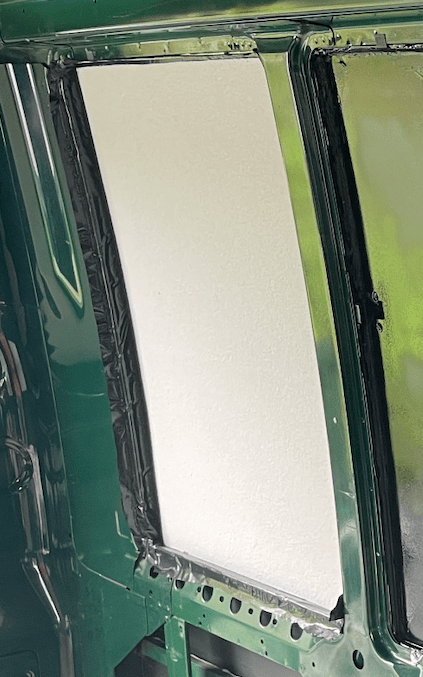
    • Insert some Expol ThermaSlab sheets into the windows. This is more for protection while we are building out the framework.
    • The final step, once the bus is framed out, is to have it all spray foam insulated, so the previously fitted Expol will sort of be redundant. But up to this stage it will provide great protection against dropped items hitting the window.

    All in all, we think it has turned out pretty well, so far, Time will tell how long and how well it lasts…

  • Project HouseBus : Can Lilly come to ?

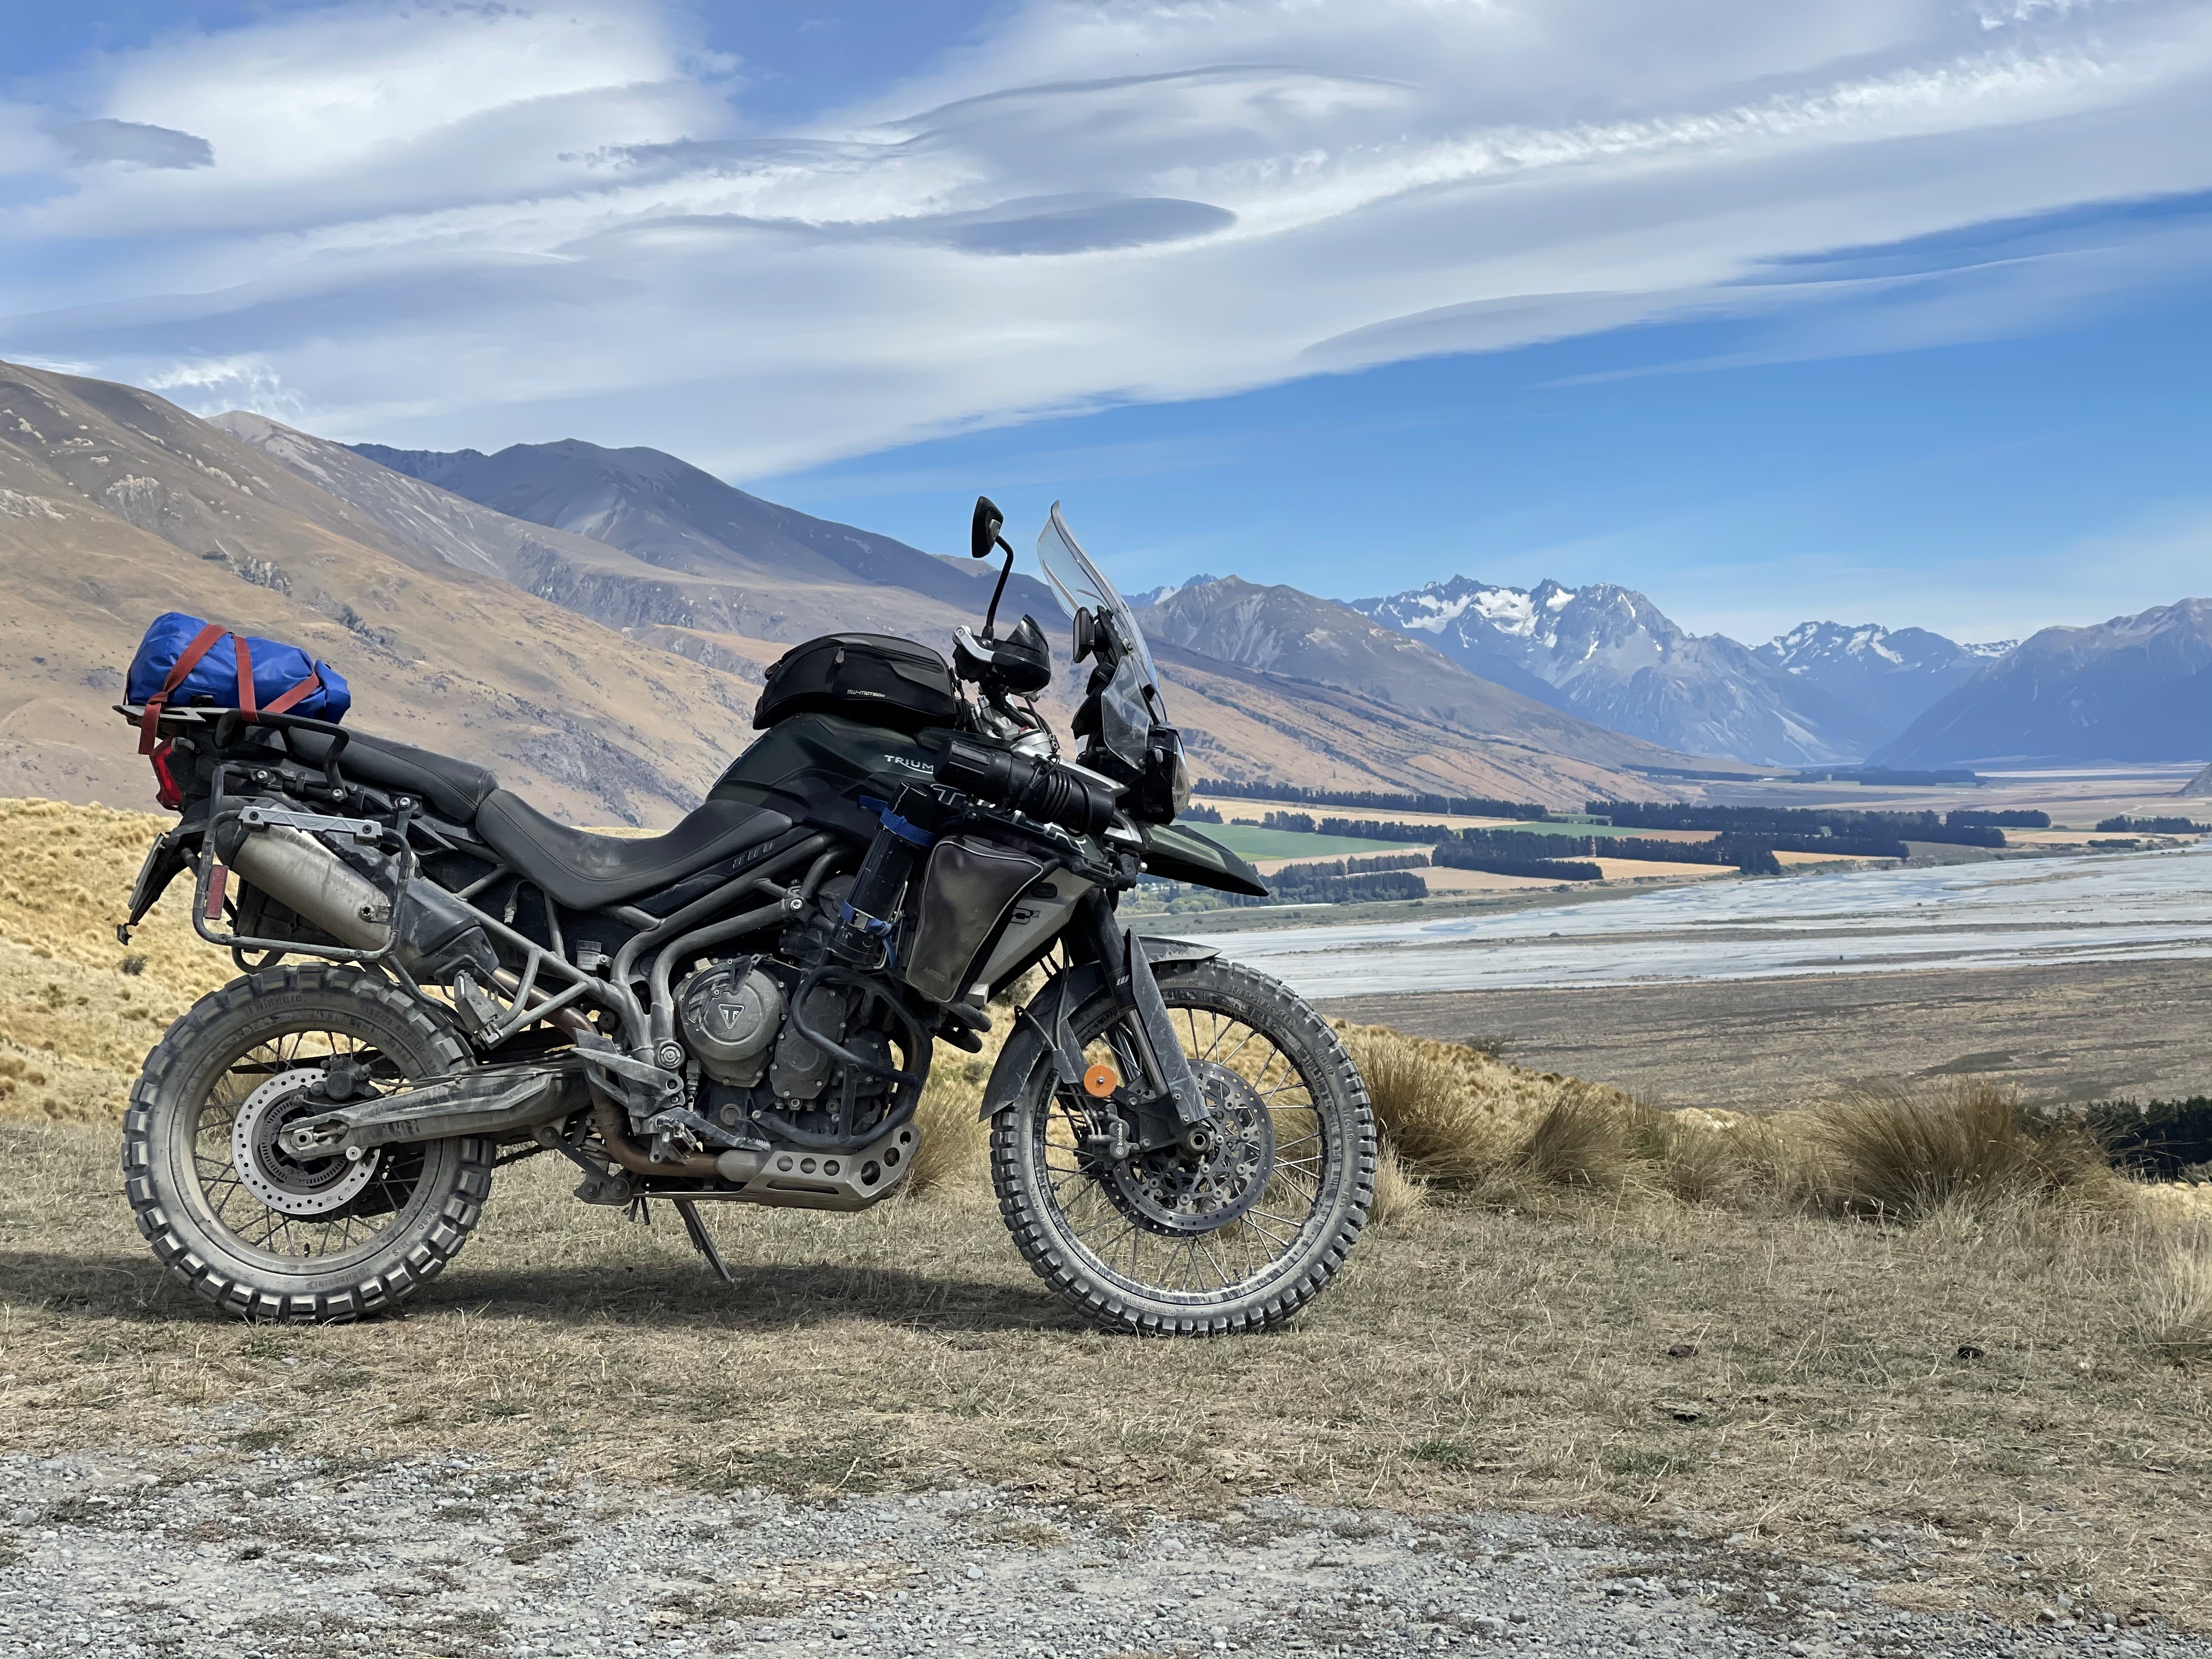
    If you know me and Michelle, you’ll know that one of the things we really enjoy is riding together on our Triumph Tiger 800 XCX, affectionately named Tiger Lilly, or Lilly for short.

    We felt that it was so important to bring her along for our trip, so we can explore all over New Zealand and enjoy adventurous rides on our favorite girl!

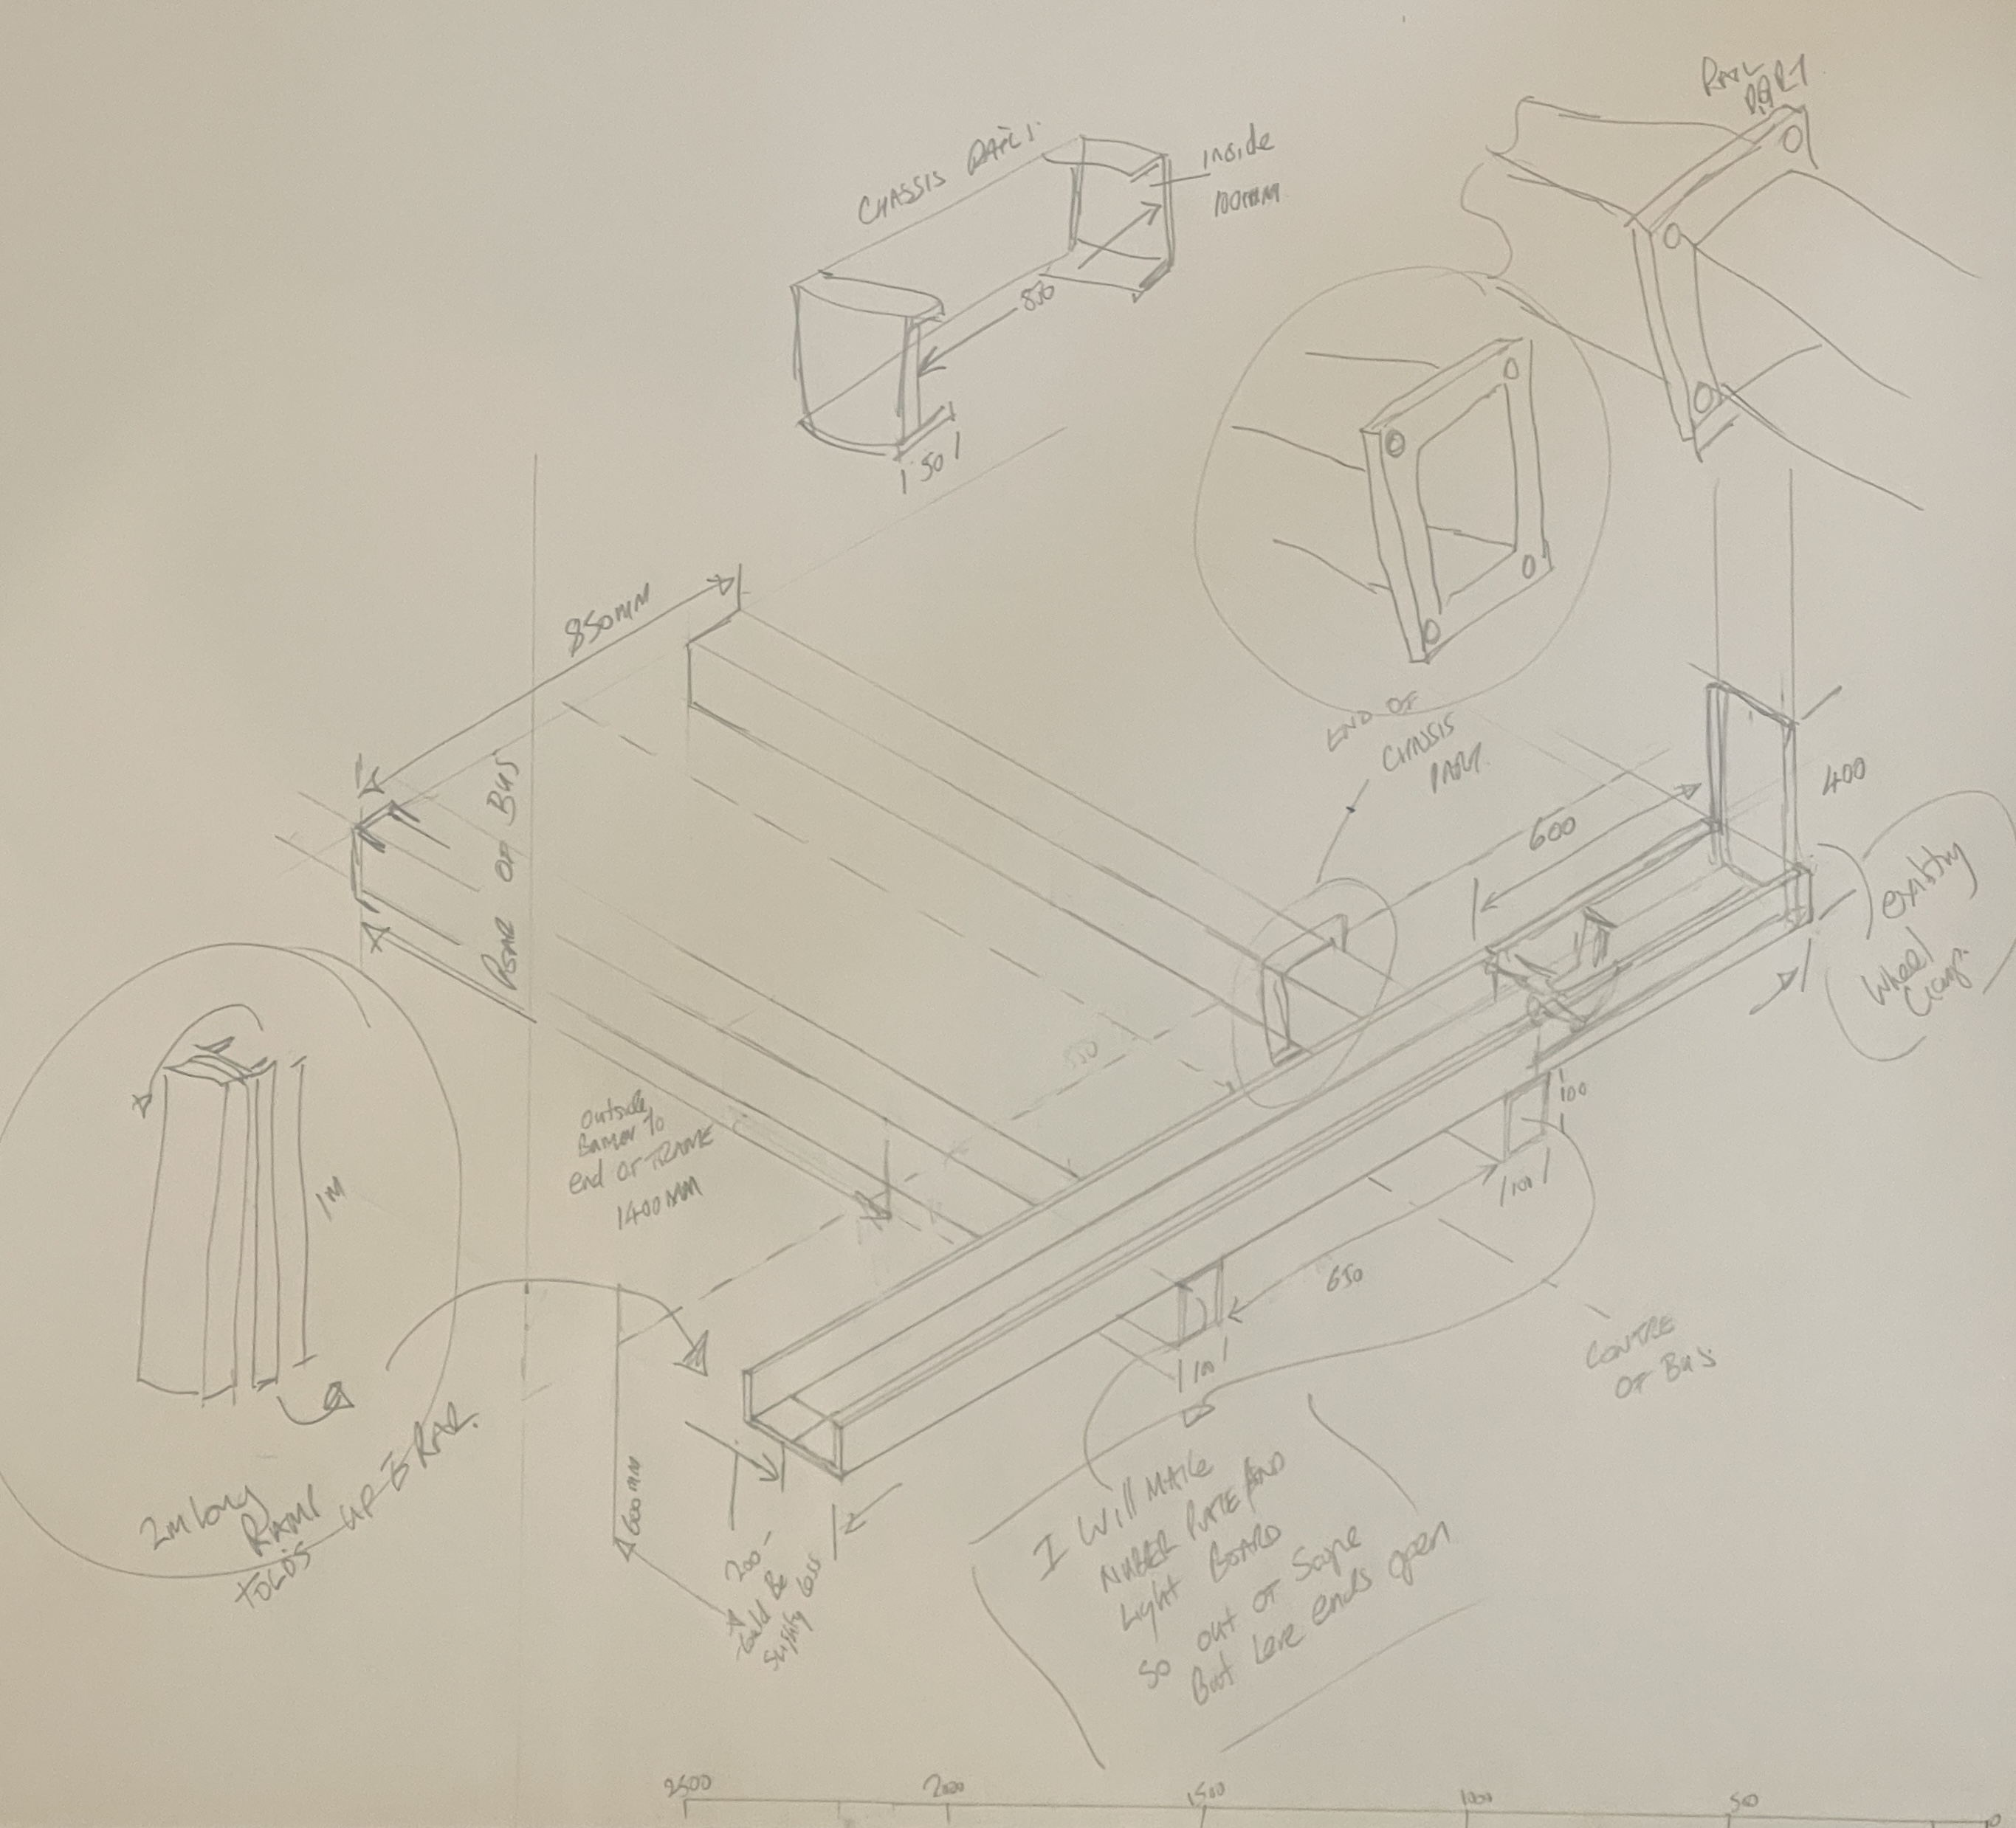
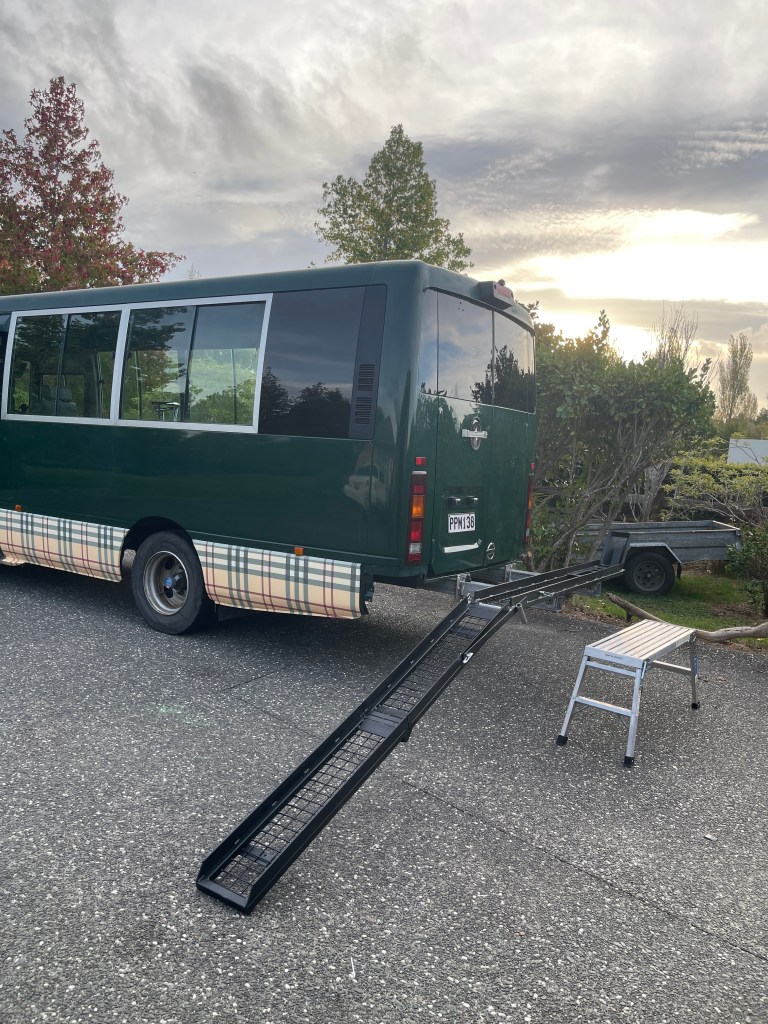
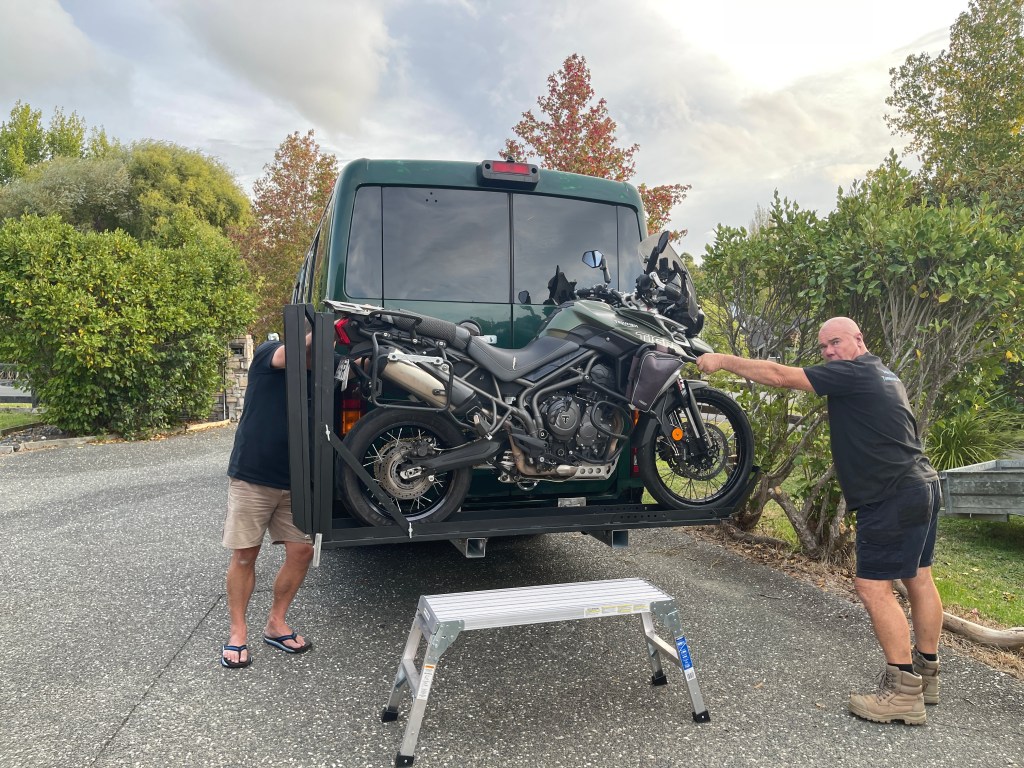
    Since I drive both the bus and the motorcycle, we realized we needed a ramp. And, well, Lilly isn’t exactly a lightweight—sorry Lilly, but you’re about 230 kg soaking wet! There aren’t many bike racks made for that, but we had an idea.

    With help from Jack at WIS, who brought our vision to life.

    We still have some finishing touches to add, but it looks great and is easy to remove for that pesky COF.

    Once we sort out the latch points, it’ll be all set. The rack is securely welded into the bus chassis, so I’m confident it will carry its precious cargo for many kilometers across this beautiful country.

  • Project HouseBus : Let the spending Begin!

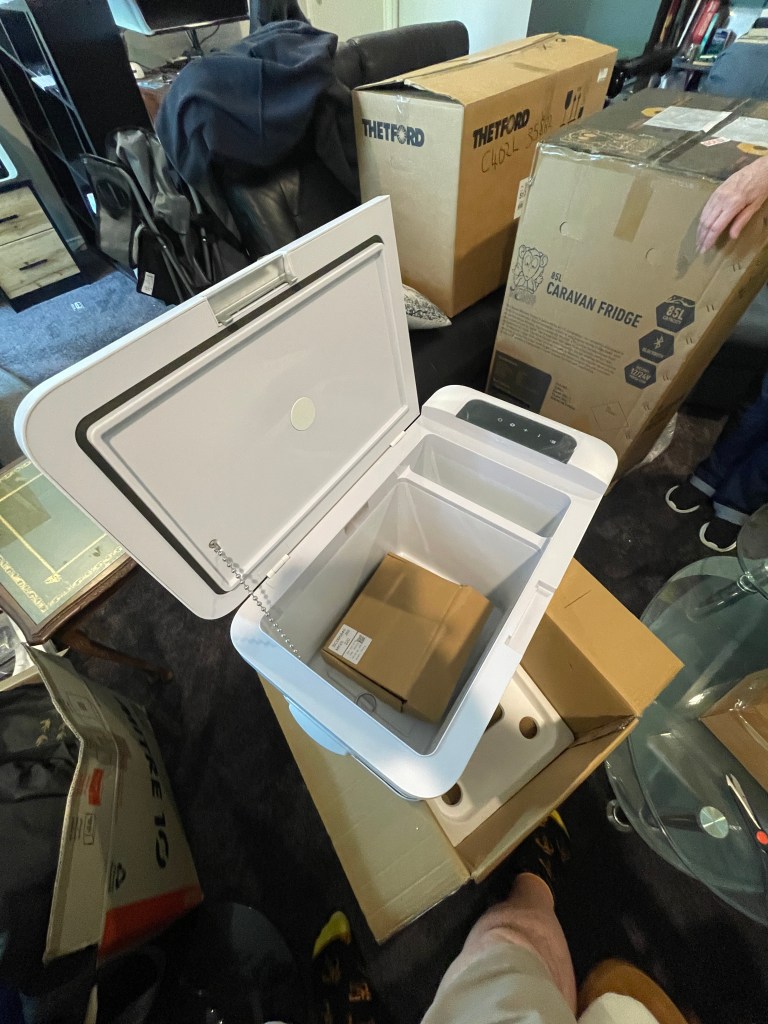
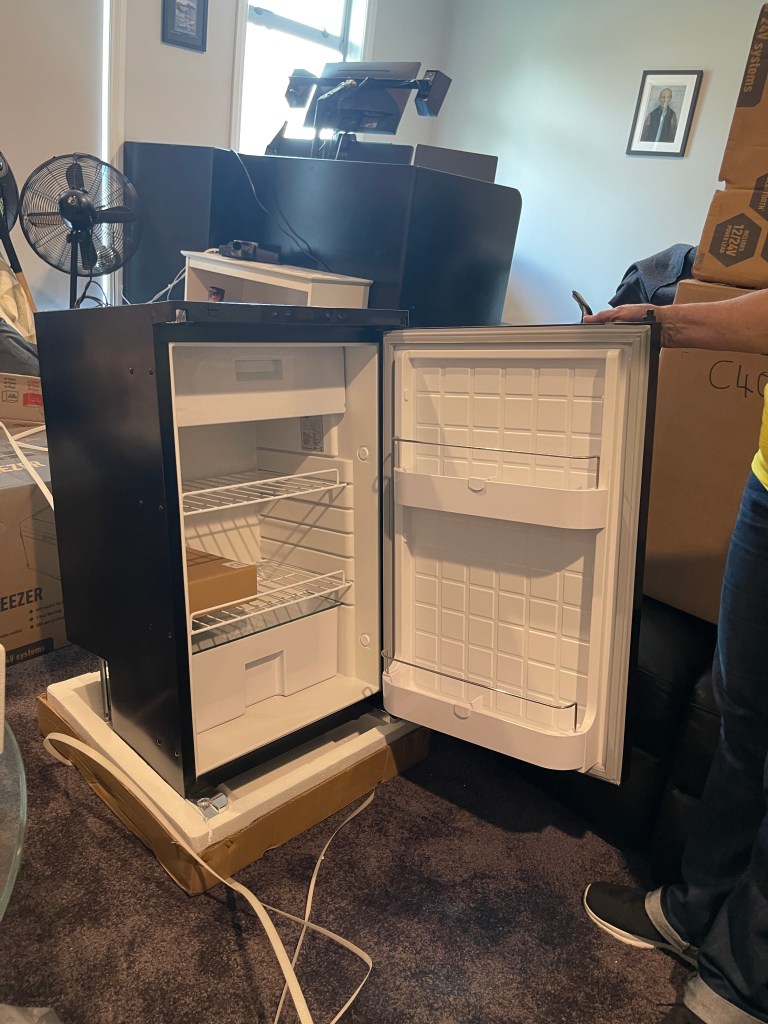
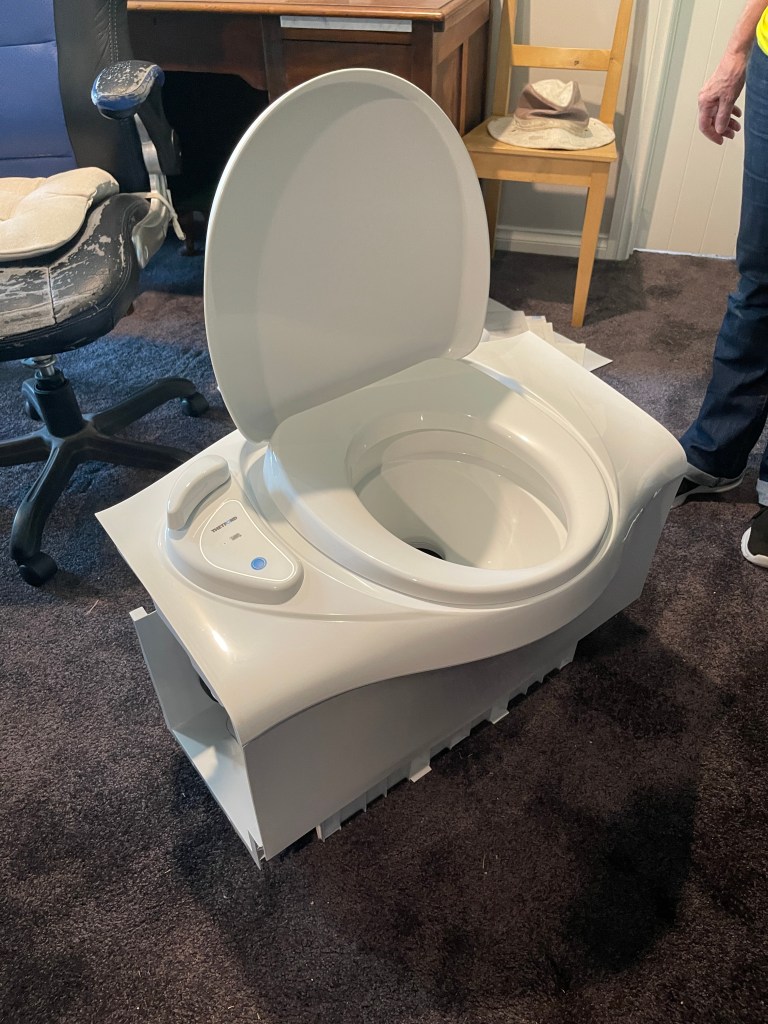
    Last weekend, we indulged in a bit of a spending spree for the build—nothing too outrageous, but let’s just say the HouseBus Savings are now looking a little more depleted than they were. In the end, we picked up our first big bundle of gear from two main suppliers:

    I got in touch with a fair few companies beforehand, hoping for some advice and maybe a cheeky discount for buying in bulk. Price-wise, there wasn’t much between them, but RV WorldStore stood out—they were helpful, quick to respond, and didn’t seem fazed by my long list of questions.

    The web team at Burnsco were a bit average if I’m honest, but I was keen to have a relationship with a local store (and ideally avoid playing courier roulette), so I reached out to the Albany branch—just up the road—and found them great to deal with. Friendly, knowledgeable, and didn’t look too horrified by my plans.

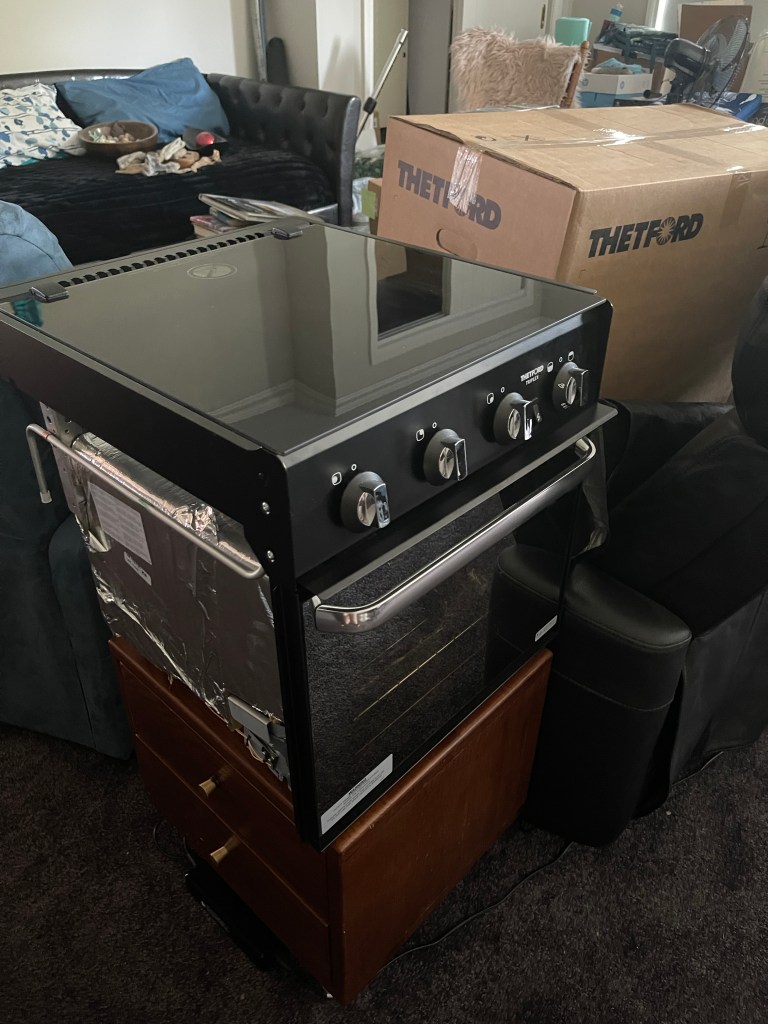
    Some of the kit has already started arriving. Our so-called “room of requirement” (aka the spare room and my office) is now starting to resemble a storage unit crossed with a bomb site.

    We’ve bought a lot of this gear well in advance, but there’s a reason for that. We need to know the exact sizes, power consumption, and fittings before we do the first fix on the bus. Better to have everything on hand now than to discover halfway through that we can no longer get that model, or nothing fits and we’re left muttering darkly at a whole that’s to small, or into a pile of mismatched cables and hoses.

    Over the coming weeks we will start fitting stuff, that’s not in these photos, but is in transit or on order, This will involve cutting large holes in the bus lots of drilling, grinding, banging and stuff ..

  • Project HouseBus : Planing

    According to the internet, it was Benjamin Franklin who said, “Failure to plan is planning to fail.” When you’re spending what is, to us, a lot of money, we want to make sure we get the plan right! 🙂

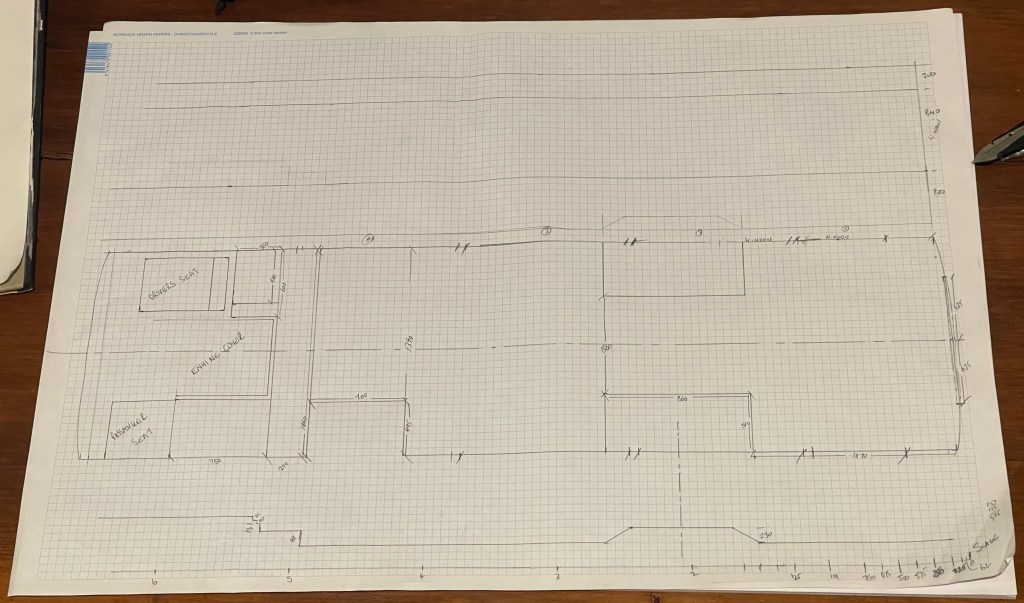
    As a first step, we measured the bus and created a blueprint to work from.

    Now, you might think that an IT guy like me would do this in software—but I don’t do CAD! So, Paper 1.1 and Pencil 1.3 had to be the tools of choice.

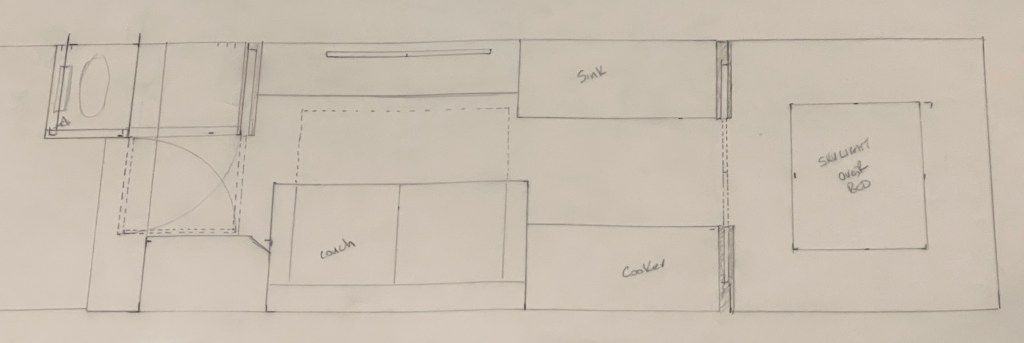
    We then overlaid tracing paper to experiment with different floor plans. This is the layout we’re currently considering.

    The next step will be to refine the details, focusing on the appliances and how they will all fit in.

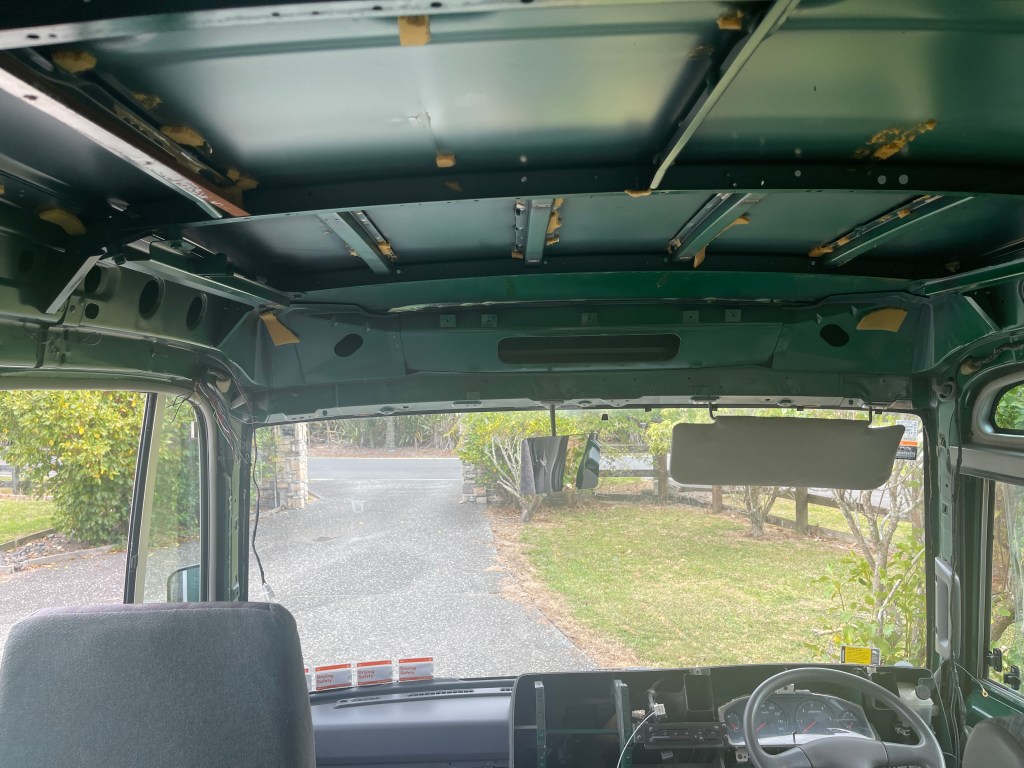
    Meanwhile, we’ve also started stripping out the bus. Here are a few photos of our prog

  • Project HouseBus : Beginning

    We’re lucky—in our sixties, Michelle and I don’t have a mortgage. Unfortunately, we also don’t have a house. As you can imagine, at our age, with today’s crazy housing prices, buying one isn’t really an option.

    We had resigned ourselves to renting for the rest of our lives, but then we started thinking: What can we do to lower our cost of living as we head toward retirement? And, at some point in the future, how can we create a “lock-up-and-leave” lifestyle so we can travel?

    That’s when the idea of a HouseBus was born.

    We’re not entirely new to life on the road, but our experience is somewhat limited. A few years ago, we spent most of a year traveling Europe in a Ford Transit van that we converted ourselves. (I might write more about that here another time, but not today!)

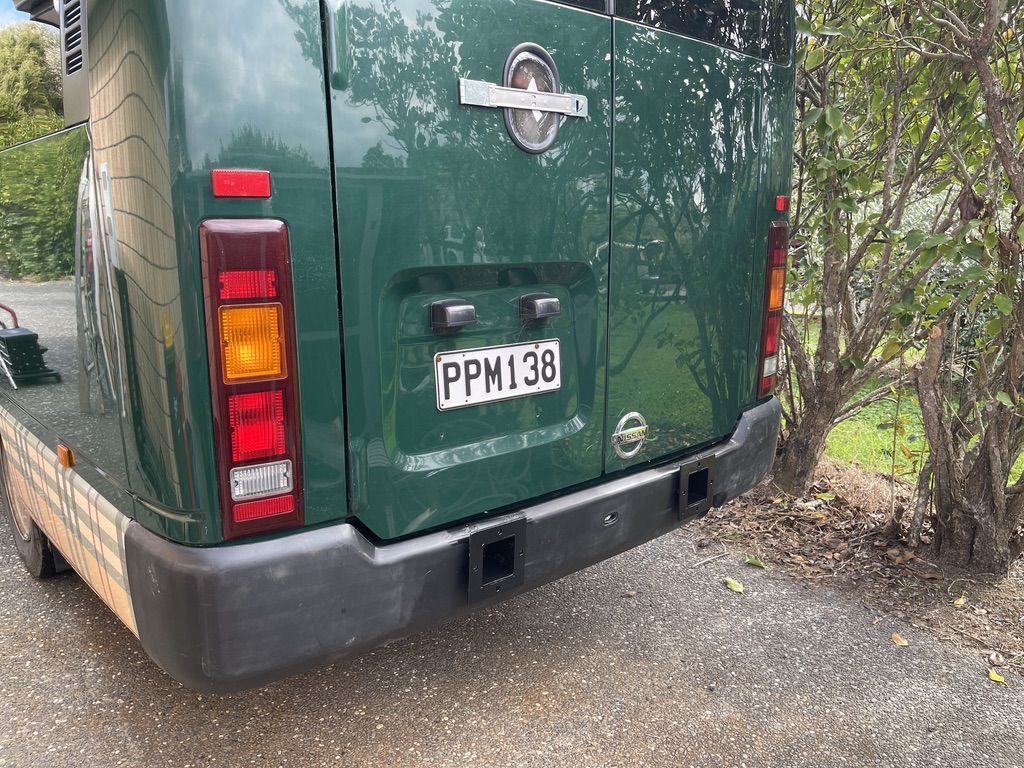
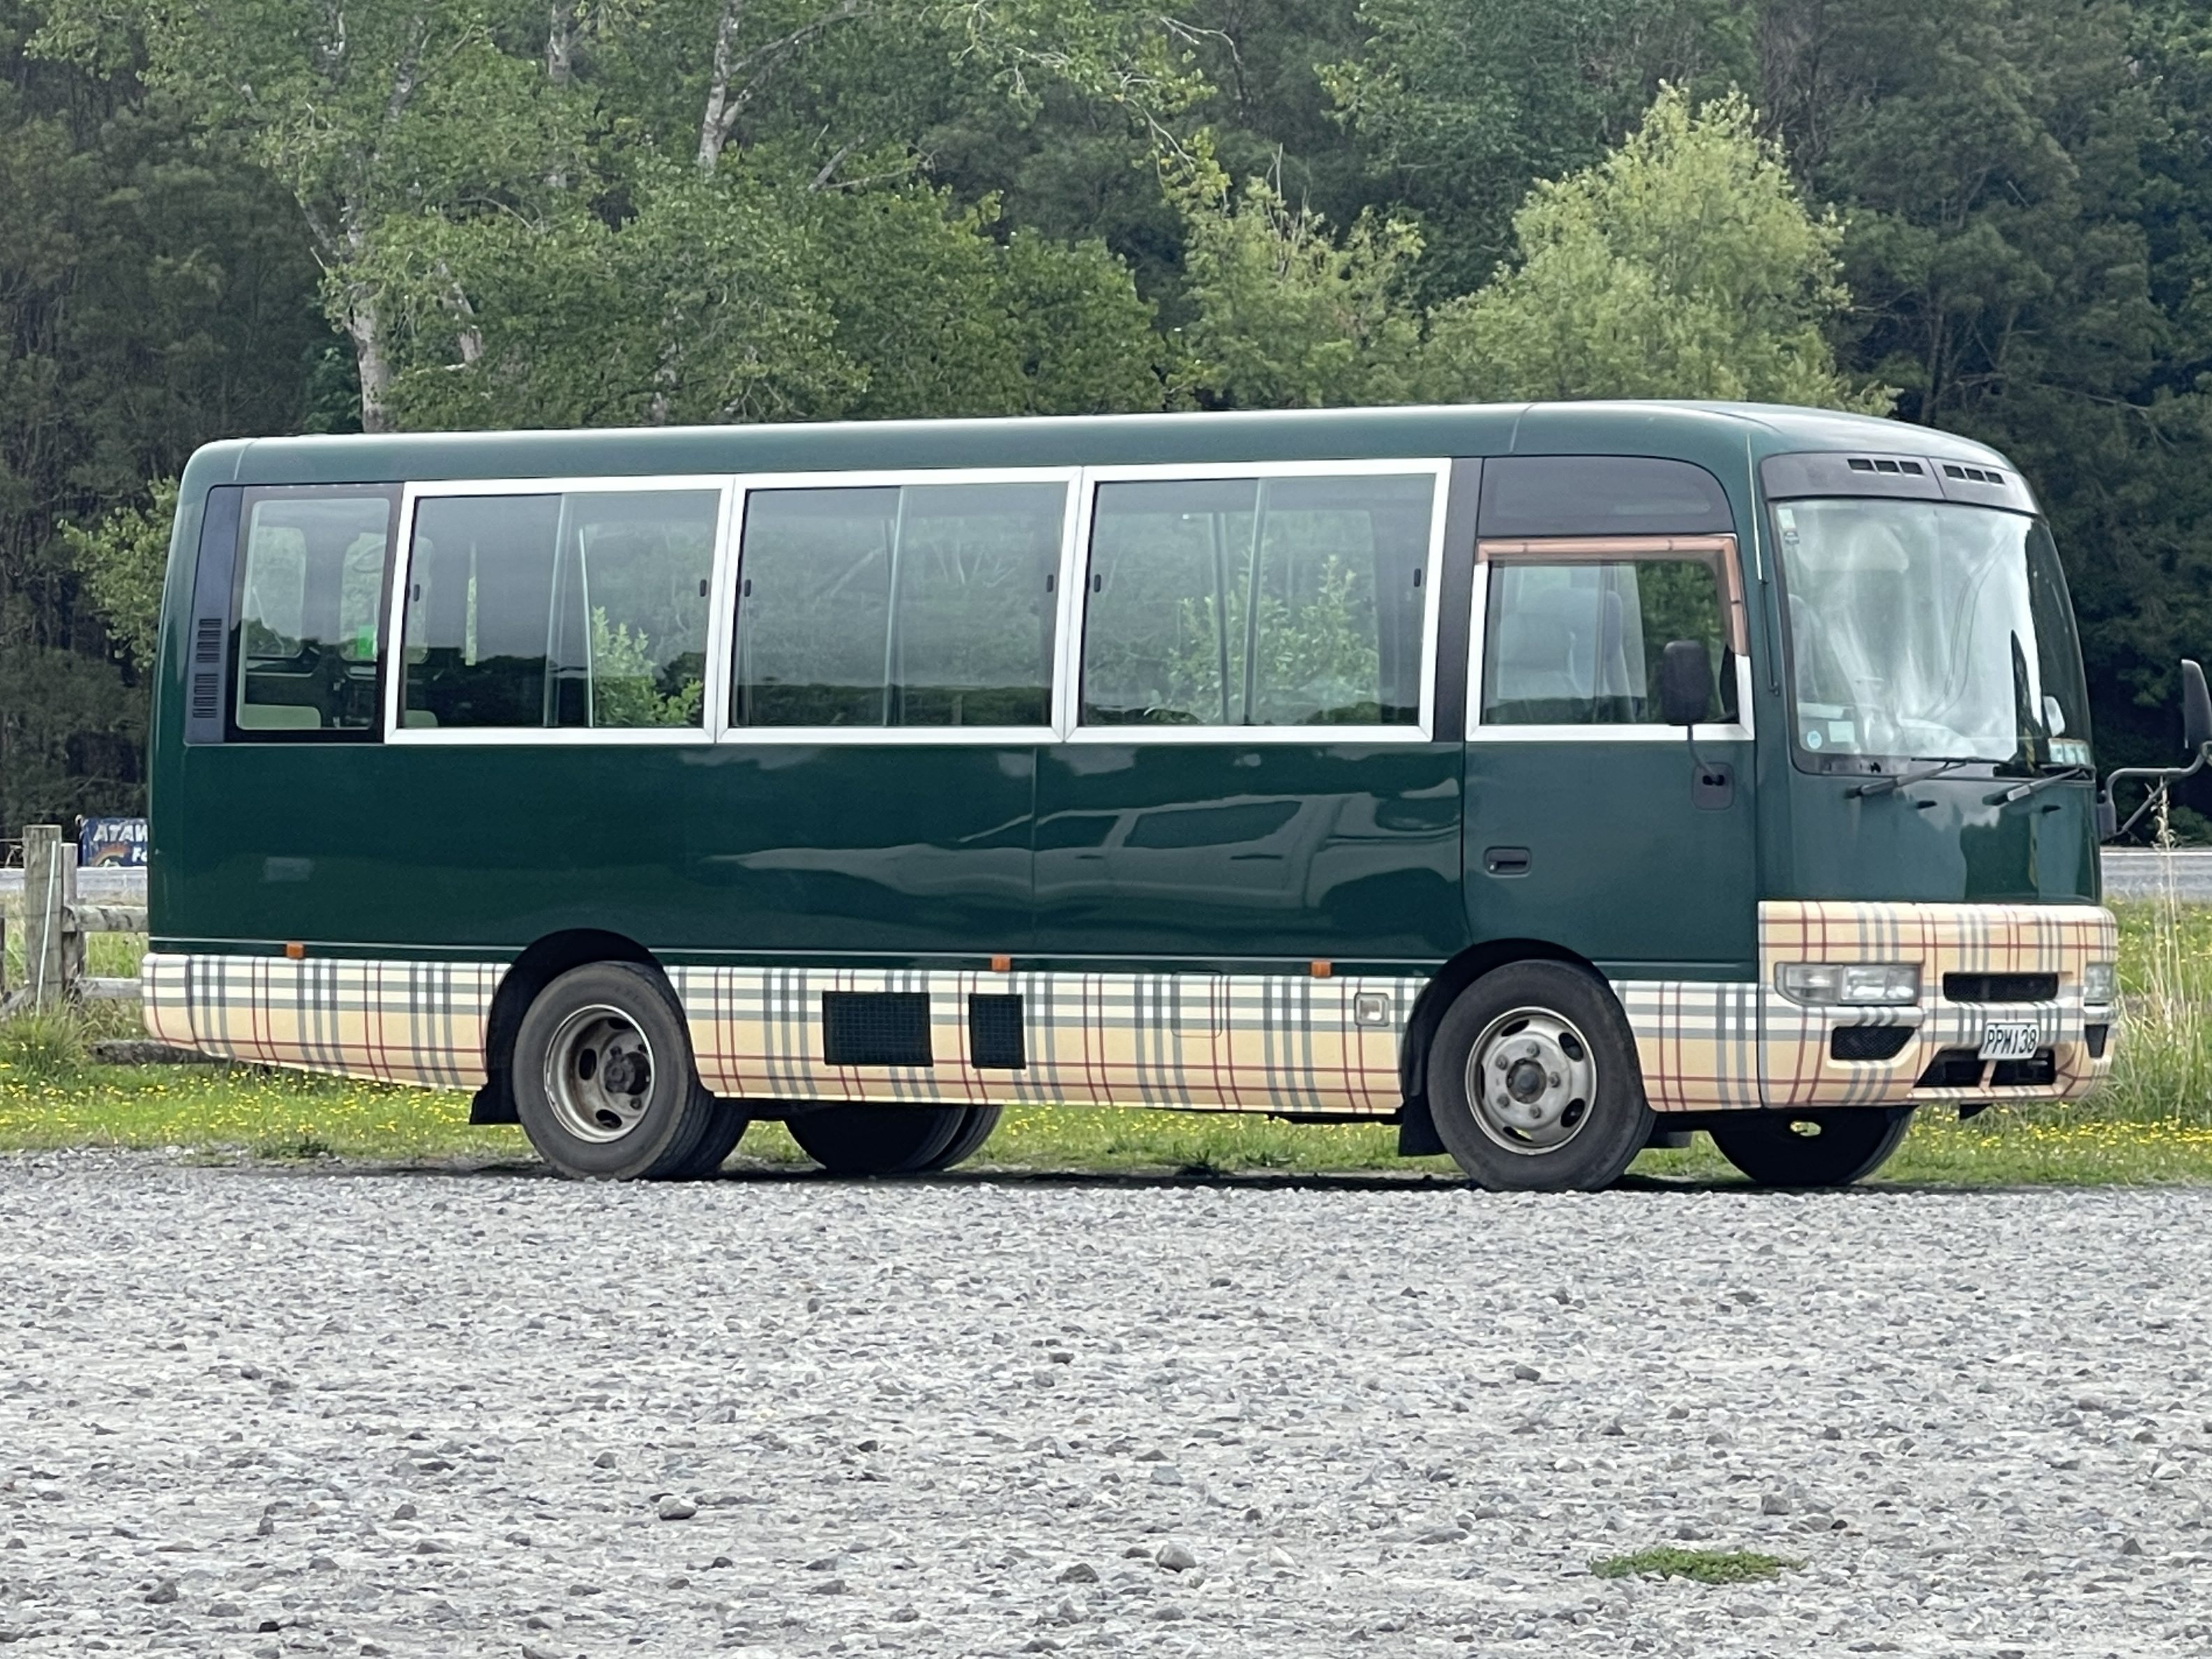
    Anyway, we knew we needed something bigger—so last weekend, we bought a bus to convert!

    This blog will document our journey, and hopefully, it will be of interest to more people than just me. 🙂